
Yes. Most light scratches on a stainless steel sink can be buffed out or made nearly invisible with tools already in your cabinet. Deeper gouges that catch a fingernail need a different plan, but they’re still fixable in most cases short of full replacement.
Start with the least aggressive option and only escalate if it fails:
- Clean the sink thoroughly, then try a non-abrasive polish, baking soda paste, or toothpaste rubbed along the grain.
- Run your fingernail across the scratch. If it catches, you’re looking at wet-sanding or a restoration kit, not a quick polish.
- Before reaching for anything abrasive, check your sink’s care instructions and warranty terms since some finishes don’t tolerate sanding at all.
That’s the whole decision tree. Everything below explains how to execute each path correctly, because doing it wrong can turn one shallow scratch into a patch of cross-hatched dullness that’s harder to fix than what you started with.
Key Takeaways
Fixing a scratched stainless sink comes down to matching the right method to the scratch’s depth, always working with the grain, and protecting the finish afterward.
| Point | Details |
|---|---|
| Test before you treat | Use the fingernail test to decide between a light polish and a full sanding approach. |
| Follow the grain, always | Sanding or polishing against the grain creates cross-marks that are harder to fix than the original scratch. |
| Escalate gradually | Start with Bar Keepers Friend, toothpaste, or baking soda before moving to wet-sanding or a Micro-Mesh kit. |
| Never use steel wool | Steel wool embeds carbon particles that rust and pit the surface over time. |
| Kitchen Devotion for replacements | When a sink is beyond repair, Kitchen Devotion’s Kitchen Sinks collection offers finish options chosen to resist future scratching. |
These sources back the diagnostic and repair techniques covered above:
- Family Handyman on removing and polishing stainless steel scratches
- PlumbAdvisor on finish-safe sanding and warranty considerations
- ClearlyLearned on household remedies like Bar Keepers Friend and toothpaste
Table of Contents
- How Do You Assess a Stainless Sink Scratch Fix Before Starting?
- What Are the Best Quick Fixes for Light Stainless Sink Scratches?
- When Should You Wet-Sand or Use a Scratch Removal Kit?
- Step-by-Step: Fixing a Scratched Stainless Sink From Start to Finish
- Which Tools and Products Actually Work for Sink Scratch Repair?
- Sources
- FAQ
How Do You Assess a Stainless Sink Scratch Fix Before Starting?
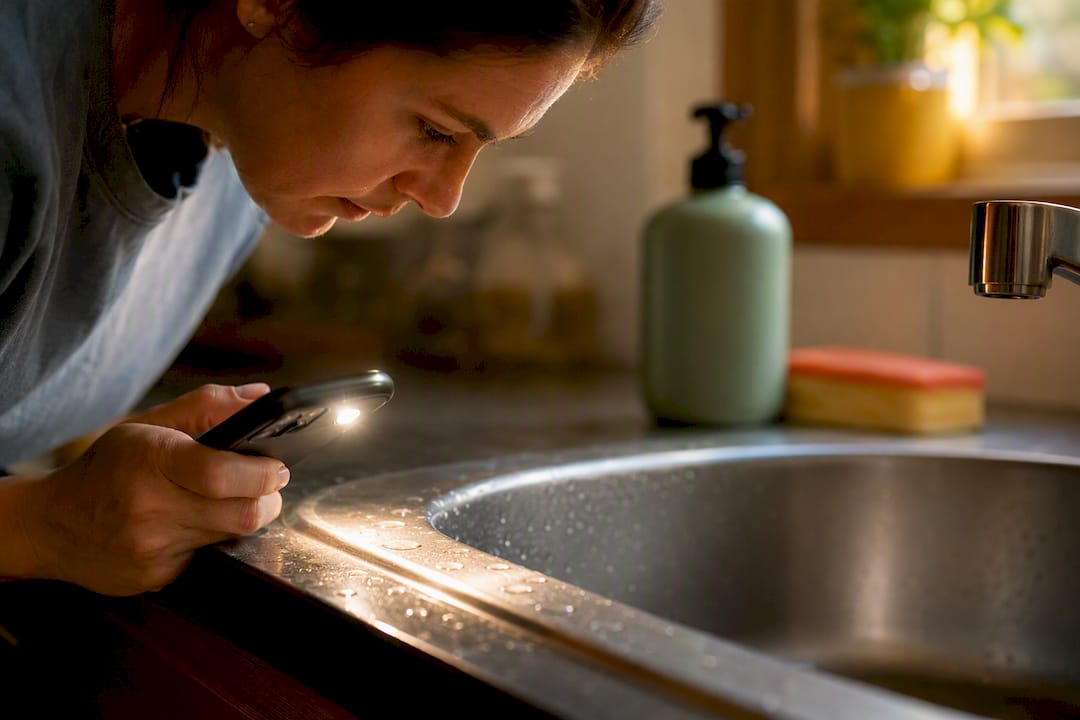
Grab a mirror or your phone’s flashlight and get down at sink level. Most repair failures happen because someone attacks a scratch with the wrong tool, not because the method itself was bad.
Two things determine your approach: how deep the scratch actually is, and which direction the factory grain runs. Get both wrong and you’ll spend an afternoon making a small problem into a bigger one.
Do the fingernail test. Drag a fingernail perpendicular across the scratch.
- If your nail glides over it smoothly, it’s a surface scratch. Polish or paste methods will likely handle it.
- If your nail catches or snags, the scratch has real depth. It needs sanding or a graded abrasive kit.
- If you see multiple deep gouges or a network of scratches, take a photo and compare it to your sink’s original finish photos before deciding on DIY versus replacement.
Next, find the grain. Stainless sinks are brushed in one direction during manufacturing, usually front-to-back or side-to-side depending on the model. Tilt the sink under raking light and you’ll see faint parallel lines. Run a finger across the surface; it feels smoother moving with the grain and slightly rougher against it. This matters because sanding or polishing against the grain creates new, visible cross-marks that are often harder to remove than the original scratch.
Before you touch anything abrasive, dig up your sink’s care card or look up the model online. Some finishes, especially coated, colored, or textured stainless, aren’t meant to be sanded or polished at all, and doing so can void a manufacturer’s warranty. Spot-test whatever product you plan to use in a hidden corner, like near the drain flange, and wait a few minutes to check for discoloration or a mismatched sheen before working on the visible scratch itself.
Pro Tip: Snap a close-up photo of an unscratched section of your sink before you start. It gives you a reference point for matching sheen once you’ve finished polishing, since fatigue and lighting changes can trick your eye mid-repair.
What Are the Best Quick Fixes for Light Stainless Sink Scratches?
Wipe the sink down with warm water and mild dish soap first, always. Grit and dried food particles left in a scratch will scrape against your polishing cloth and add new micro-scratches while you’re trying to remove the old one. Dry it completely with a microfiber cloth before starting any repair.
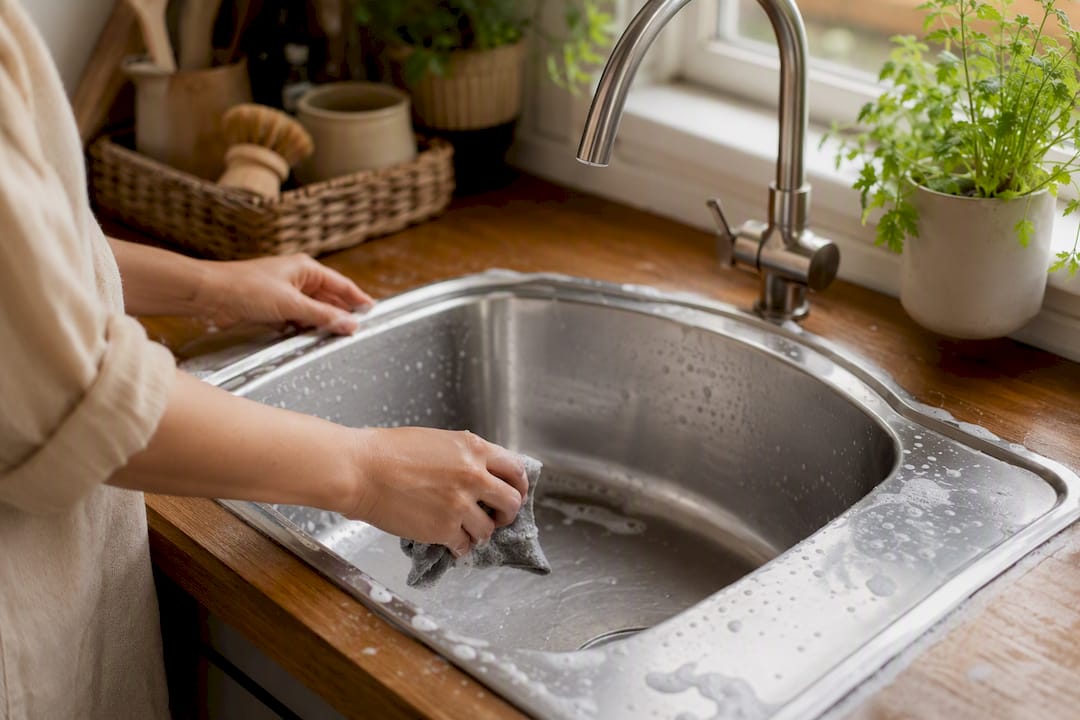
Bar Keepers Friend is the workhorse product for this job, and it’s worth understanding why it works. The powder formula contains a mild abrasive (feldspar) along with oxalic acid, which helps lift light surface stains and superficial scratching without cutting as aggressively as sandpaper. Make a loose paste with water, apply a dab to a soft cloth or non-scratch pad, and work it in short strokes parallel to the grain, never circular. Rinse and dry, then check your progress under raking light. Use the powder version specifically; the spray cleaner is fine for routine cleaning but lacks the same scratch-reducing grit.
Two more common household fixes work on genuinely shallow scratches:
- Non-gel toothpaste contains mild silica abrasives. Apply a small amount directly to the scratch, rub gently with the grain using a soft cloth, then rinse.
- Baking soda paste (roughly three parts baking soda to one part water) is a gentler, more eco-friendly option. Apply, work along the grain for 30 to 60 seconds, then rinse and dry.
Bar Keepers Friend and toothpaste are the two most commonly recommended household fixes for exactly this stage of damage, and baking soda is the go-to alternative when you’d rather skip the acid.
WD-40 deserves a specific mention because it comes up constantly in forums. It won’t remove a scratch. What it does is temporarily fill and darken the scratch line so it blends visually with the surrounding metal, plus it leaves a light protective film that resists fingerprints. Spray a small amount on a cloth (never directly on the sink), wipe along the grain, then buff off the excess. Treat it as cosmetic camouflage, not a repair, and know it needs reapplication over time.
A dedicated stainless polish (non-abrasive, ammonia-free) works similarly. Apply, buff with the grain, and let the metal’s natural reflectivity do the work of hiding minor imperfections.
If you’ve tried a paste or polish twice and the scratch is still clearly visible under good lighting, stop. You’re now in fingernail-catch territory, or close to it, and it’s time to move to a graded abrasive approach instead of grinding harder with the same product.
When Should You Wet-Sand or Use a Scratch Removal Kit?
Sanding is the right call only when the fingernail test confirms real depth, or when polish and paste methods have plateaued without improving the scratch. This is also the stage where mistakes get expensive, so the sequence matters more than the products.
The core technique is progressive wet-sanding: working through a series of increasingly fine grits, each one erasing the marks left by the coarser grit before it, until the surface blends back into the surrounding brushed finish. Start around 400 to 600 grit for the initial pass on a deep scratch, then move to 800, then 1000 or higher to refine the finish.
- Wet the sanding surface and the sink with water (or a sanding lubricant) before every pass. This keeps friction and heat down, which matters because excess heat can discolor stainless steel and stain the surface permanently.
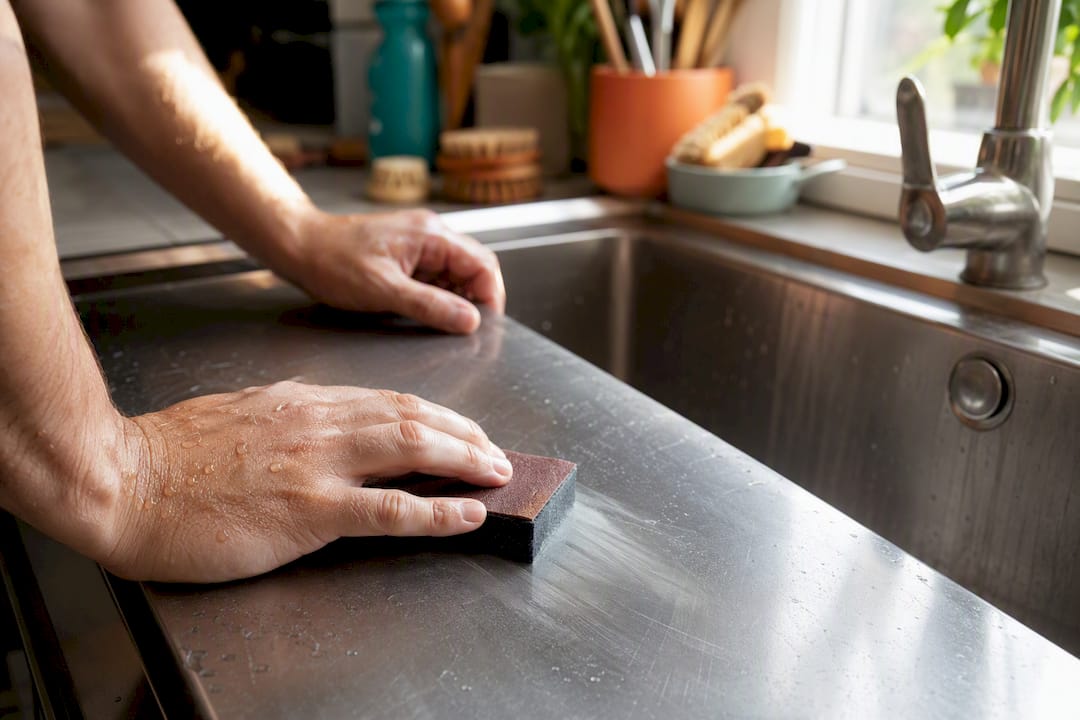
- Sand in long, straight strokes strictly parallel to the grain. Never sand in circles or at an angle, even briefly; that’s the single most common way DIYers turn one scratch into a patch of visible swirl marks.
- Extend each stroke well beyond the ends of the scratch itself, feathering the repair outward so there’s no hard edge where the sanded area meets the original finish.
- Wipe away metal residue and check your progress after every few passes. Move to the next finer grit only once the current grit’s marks look uniform.
- Finish with a polishing compound or a Micro-Mesh fine pad to bring back the sheen, working with the grain the entire time.
For most homeowners, a purpose-built kit is easier to get right than assembling loose sandpaper sheets. Micro-Mesh Scratch Away Sink Restore is built specifically for this: it includes a calibrated sequence of abrasive pads that step down in grit together, so you’re not guessing whether you’ve jumped too far between grits. That calibration is the real value of a kit over loose sandpaper; the graded abrasives are matched to each other, which helps someone without sanding experience follow a near-professional progression without skipping a step and leaving visible haze.
Whatever you use, avoid steel wool entirely. Steel wool and steel-bristled pads shed tiny carbon particles that embed in stainless steel and rust, leaving orange pitting that’s far worse than the scratch you started with.
Once the surface is sanded and polished to a uniform sheen, you need to address what the sanding process did to the metal itself. Stainless steel resists corrosion because of a thin, invisible chromium oxide layer on its surface. Abrasive work strips that layer away in the sanded area. Re-passivating the surface, or applying a stainless steel restorer or food-grade mineral oil, helps that protective layer reform and reduces the chance of water spots or tea-staining setting into the freshly worked metal.
Pro Tip: Wrap a sanding block or a folded pad around a rubber eraser or a firm sponge instead of pressing with bare fingertips. It distributes pressure evenly across the scratch and keeps you from digging in harder on one end, which is how uneven, lens-shaped repairs happen.
Step-by-Step: Fixing a Scratched Stainless Sink From Start to Finish
Before touching the sink, gather what you’ll need: mild dish soap, microfiber cloths, a soft-bristle brush, your chosen polish or paste, a Scotch-Brite non-scratch pad, and, if the fingernail test says so, wet/dry sandpaper or a Micro-Mesh kit. Rubber gloves protect your hands from acids in polish products.
- Clean the entire sink with warm water and mild soap, then dry completely with a microfiber cloth.
- Identify the grain direction and mark it mentally, or with a strip of painter’s tape just outside the work area, so you don’t lose track mid-repair.
- Spot-test your chosen product in an inconspicuous area and wait a few minutes to confirm no discoloration.
Path A, light scratch: Apply Bar Keepers Friend paste, toothpaste, or baking soda paste directly to the scratch. Work it in with a soft cloth or Scotch-Brite non-scratch pad, moving only with the grain, for 30 to 60 seconds. Rinse, dry, and inspect under raking light. Repeat once if needed, then apply a light coat of stainless polish or mineral oil to finish.
Path B, deep scratch: Wet-sand starting at 400 to 600 grit, moving with the grain in long strokes that extend past the scratch’s edges. Progress through 800 grit, then 1000 or finer, checking uniformity between each step. Finish with a polishing compound, then apply a stainless restorer or food-grade mineral oil to re-passivate the area.
Once you’ve finished either path, verify the repair properly:
- Run your fingernail over the area again; it should glide smoothly with no catch.
- Check the sheen under two different light sources (natural daylight and a kitchen bulb) since one alone can hide a mismatch.
- Wipe down the whole basin one more time to remove any leftover residue or compound.
For aftercare, wipe the sink dry after each use to prevent water spots, and do a light Bar Keepers Friend pass every few weeks to keep the finish even. A thin layer of mineral oil applied monthly helps the surface resist fingerprints and keeps future light scratches easier to buff out before they set in.
Which Tools and Products Actually Work for Sink Scratch Repair?
Buying the wrong grade of pad or sandpaper is the fastest way to waste an afternoon. Here’s what belongs in your kit and why each item earns its place.
Scotch-Brite non-scratch pads are your workhorse for applying pastes and light polishes. They’re designed not to add their own scratches to delicate surfaces, which makes them safer than a standard green scrubbing pad for stainless. Avoid any Scotch-Brite pad marked for heavy-duty or “extra scrub” use on stainless; those are too coarse for finish work.
Bar Keepers Friend, powder form specifically, is the single most versatile product on this list. It handles everything from routine maintenance cleaning to genuine light-scratch reduction, and it’s inexpensive enough to keep a full container under the sink permanently.
Micro-Mesh Scratch Away Sink Restore is worth the extra cost when you’re dealing with a scratch that failed the fingernail test. The graded pad sequence takes the guesswork out of grit progression, which matters if you’ve never wet-sanded metal before.
For sandpaper, buy wet/dry silicon carbide paper in a range from 400 up through 1000 or 1500 grit, plus a rigid sanding block so pressure stays even across the pad instead of concentrating under your fingertips. A spray bottle of water or a dedicated sanding lubricant keeps friction and heat down during every pass.
Round out your kit with a stack of microfiber cloths (one for cleaning, one for buffing, kept separate to avoid cross-contaminating grit), food-grade mineral oil for the final finish, and nitrile gloves if you’re working with acid-based polishes for more than a few minutes.
| Category | Recommended For |
|---|---|
| Scotch-Brite non-scratch pad | Applying pastes and light polish without adding new marks |
| Bar Keepers Friend (powder) | Routine maintenance and reducing shallow surface scratches |
| Micro-Mesh Scratch Away kit | Deeper scratches that fail the fingernail test |
| Wet/dry sandpaper, 400 to 1000+ grit | Progressive sanding on gouges, always used wet |
| Food-grade mineral oil | Finishing and protecting the sink after polishing or sanding |
Keeping Scratches From Coming Back
Most future scratches trace back to the same handful of habits, all easy to fix. A rubber or coated sink grid, or even a folded towel under heavy pots, absorbs impact from cast iron and cookware sets before it ever reaches the sink surface. Learning how to store cookware without banging it against hard surfaces prevents a lot of everyday nicks near the sink and drying rack.
- Wipe the sink dry after each use instead of letting water air-dry, which limits mineral buildup that dulls the finish over time.
- Do a light Bar Keepers Friend pass every few weeks as maintenance, not just as a repair tool.
- Skip chlorine-based cleaners and bleach; they can pit and discolor stainless steel over repeated use.
- Never use steel wool, steel-bristled brushes, or any Scotch-Brite pad not rated for stainless finishes.
Protective films exist and can shield a sink from daily wear, but they change how future repairs work. A scratch that happens under a film usually means replacing the whole film rather than spot-repairing bare metal, so weigh that tradeoff before applying one.
When Should You Call a Professional Instead of DIY?
Some situations call for stopping before you start. Coated, colored, or textured stainless finishes often can’t be sanded or polished using the standard grit progression without damaging the coating permanently, and DIY sanding on these finishes routinely voids a manufacturer’s warranty. Always confirm your care instructions before touching abrasives.
Call a professional refinisher or the manufacturer when:
- The scratch pattern crosses the grain in multiple directions and you can’t identify a clean repair path.
- You’re unsure what finish type your sink has (brushed, satin, coated, or specialty).
- The damage is extensive enough that DIY sanding risks creating a visibly patchy area larger than the original scratch.
Professional refinishing typically involves a broader resurfacing pass across the whole basin rather than a spot repair, which costs more than a DIY kit but restores a uniform finish edge to edge. If a sink is old, thin-gauge, or already showing rust pitting alongside scratches, replacement is often more cost-effective than refinishing.
What Kitchen Devotion Sees Homeowners Get Wrong
The mistakes we hear about most often aren’t about product choice, they’re about sequence. People skip the spot-test and find out the hard way that their polish discolors the finish. They sand across the grain because it’s faster, then spend twice as long trying to fix the cross-hatching. Or they reach for steel wool because it’s what’s under the sink already, not realizing it can seed rust spots that show up weeks later.
If you’re weighing repair against replacement, our guide on how to choose sink material breaks down which finishes hold up best to daily wear. And if a sink has moved past the point of a reasonable DIY fix, browsing Kitchen Sinks is a faster path than fighting a scratch pattern that keeps getting worse. Stay conservative, test first, and save the sanding for scratches that genuinely need it.
— K. Connors
Protect the Sink You Have (or Upgrade the One You Don’t)
If your sink has scratches deep enough that a repair kit won’t fully resolve them, or if the finish is coated in a way that makes sanding risky, replacing the basin is often less work than a repeated repair cycle. Kitchen Devotion curates sink options by finish type and grain pattern, so you can match a replacement to what actually holds up in your kitchen instead of guessing from a big-box aisle.

The Kitchen Sinks collection covers a range of stainless gauges and finishes, with notes on which ones resist visible scratching best under daily use. If you’re still deciding between materials entirely, the how to choose sink material guide walks through the tradeoffs between stainless, composite, and fireclay before you commit to a replacement. And since heavy cookware is one of the biggest causes of new scratches, pairing a new sink with a look at cookware sets built with scratch-resistant bases can cut down on repeat damage. Check the current sink lineup and see which finish fits your kitchen before the next scratch forces the decision for you.
Sources
- How to Remove Scratches and Polish Stainless Steel | Family Handyman
- Sanding or Polishing a Stainless Steel Sink: Finish-Safe Planning | PlumbAdvisor
FAQ
What can I use to remove scratches from my stainless steel sink?
Bar Keepers Friend powder, non-gel toothpaste, or a baking soda paste handle most light scratches when applied with a Scotch-Brite non-scratch pad and worked along the grain. Deeper scratches need progressive wet-sanding or a kit like Micro-Mesh Scratch Away.
Does WD-40 remove scratches from stainless steel?
No, WD-40 doesn’t remove scratches; it temporarily darkens and fills the scratch line so it blends visually with the surrounding metal. Treat it as cosmetic camouflage that needs reapplying, not a permanent fix.
Can you buff scratches out of stainless steel?
Yes, light surface scratches can often be buffed out with a non-abrasive polish or mild paste worked with the grain. Deeper scratches that catch a fingernail need graded sanding first, then buffing and polishing to restore the sheen.
What is a good kit for removing scratches from a stainless steel sink?
The Micro-Mesh Scratch Away Sink Restore kit is a solid option because it includes graded abrasive pads calibrated to work together, guiding you through a grit progression without guessing when to switch grits.
How do I know if a scratch needs sanding instead of polish?
Run your fingernail perpendicular across the scratch. If your nail catches or snags, the scratch has enough depth that polish alone won’t fully resolve it, and you should move to wet-sanding or a restoration kit instead.





No comment