
Standing water in the bottom of your dishwasher almost always traces back to one of three things: a clogged filter, a blocked drain hose or disposal connection, or a jammed pump impeller. Before you call anyone, try this: hold the Cancel/Drain button for 5 to 10 seconds to force a reset, then check the filter for gunk. That combination clears the problem more often than any other single fix.
Here’s the fastest way to work through it:
- Run Cancel/Drain and listen for the pump.
- Scoop out standing water with a cup or ladle.
- Pull the lower rack and twist out the filter to inspect it.
- Look under the sink for a kinked hose or a garbage disposal that was never fully connected.
Pro Tip: Listen closely while the pump is trying to drain. A steady hum means the motor is alive but something is physically blocking the impeller. Total silence means the pump isn’t getting power at all, which points toward an electrical issue rather than a clog.
Key Takeaways
A dishwasher not draining is almost always fixable at home by checking the filter, forcing a reset, and inspecting the disposal connection before assuming the pump has failed.
| Point | Details |
|---|---|
| Try the reset first | Hold Cancel/Drain for 5 to 10 seconds to force the pump to restart and clear minor blockages. |
| Clean the filter monthly | A clogged filter and sump cause more drainage failures than any other single issue. |
| Check the disposal knockout | A leftover knockout plug after installation or a remodel is a frequent, overlooked cause. |
| Listen before you buy parts | Humming means a jammed impeller; silence points to a dead motor or power issue. |
| Consider replacement at the right point | Control board faults or repeated failures may cost more to fix than Kitchendevotion’s appliance guides suggest a new unit would. |
Table of Contents
- Why Is My Dishwasher Not Draining? A Prioritized Checklist
- How Do You Remove Standing Water and Access the Filter?
- How Do You Test a Dishwasher Drain Pump?
- How to Clear Hoses, Disposal Knockouts, and Small Parts Yourself
- When Should You Call a Professional Dishwasher Repair Tech?
- What Maintenance Prevents Future Drainage Problems?
- Why Trust This Dishwasher Drainage Guide?
- The Checklist Beats the Guesswork
- Ready to Upgrade Instead of Repair?
- Sources
- FAQ
Why Is My Dishwasher Not Draining? A Prioritized Checklist
Work through causes in order of how often they actually happen, not how scary they sound. Most dishwasher drain issues are mechanical annoyances, not motor failures.
- Check the filter and sump first. This is by far the most common culprit. Food particles, glass shards, and produce stickers collect in the removable filter and the sump beneath it. Cleaning the filter and inspecting the sump resolves drainage complaints more often than any other single step, and it takes about five minutes.
- Force a drain cycle. Press and hold Cancel/Drain for 5 to 10 seconds. This restarts the pump and often clears a temporary blockage that a full clog hasn’t fully set into place yet.
- Check the garbage disposal connection. If you had a new dishwasher installed, or a disposal replaced recently, there’s a good chance nobody removed the knockout plug on the disposal inlet. That plastic disc is designed to be knocked out before connecting the dishwasher drain line, and installers skip it constantly.
- Trace the drain hose. The hose needs a high loop, or a connection to an air gap, to keep dirty water from siphoning back in. Check for kinks where the hose passes behind the sink cabinet, and confirm nothing crushed it during a remodel or a new appliance install.
- Note any error codes or sounds. Codes vary by brand, but many models will flash something like an OE or E24 code specifically for drainage faults. If you’re seeing a code you don’t recognize, our dishwasher error codes guide breaks down what each one usually means.
A few red flags worth writing down as you go:
- A burning smell during the drain cycle.
- Water backing up into the sink when the dishwasher runs.
- A grinding noise instead of a hum, which usually means something harder than food debris is caught in the impeller.
How Do You Remove Standing Water and Access the Filter?
You need the tub empty before you can see or fix anything, and doing this safely matters more than doing it fast.
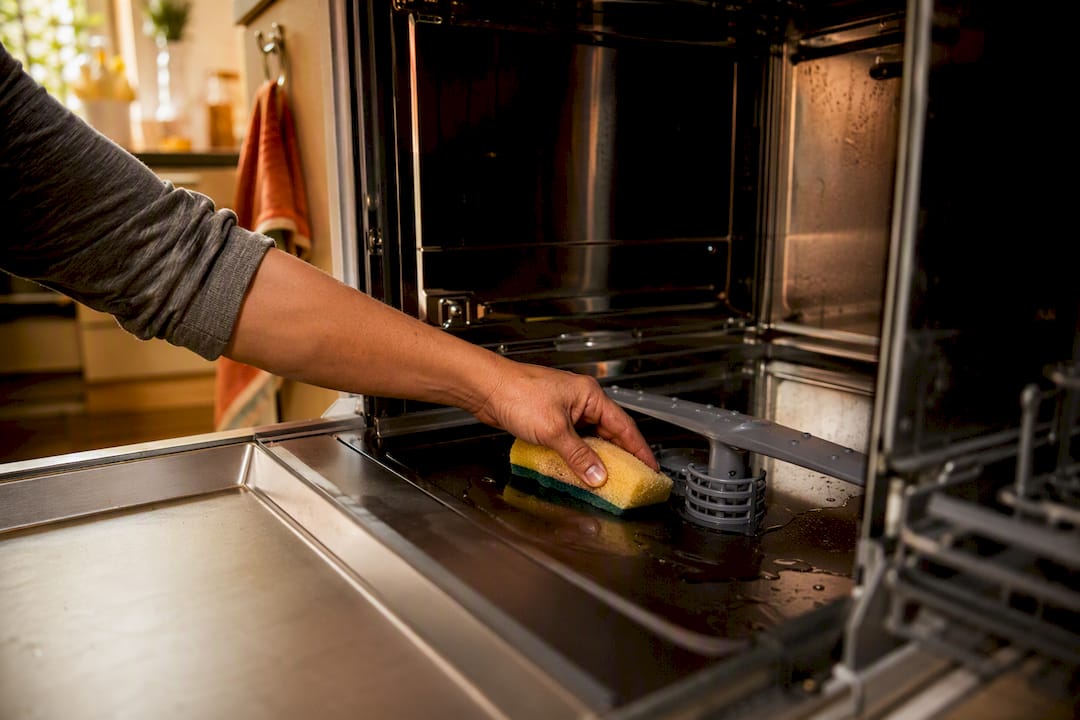
Switch off power at the breaker before you touch anything electrical or reach near the pump housing. Lay towels around the base of the dishwasher, because water is coming out one way or another.
What you’ll need: a large cup or ladle, old towels, a bucket, a shop vac if you have one, rubber gloves, and a flashlight.
- Remove the lower dish rack to get clear access to the tub floor.
- Scoop out as much standing water as you can with the cup or ladle, dumping it into the bucket.
- Use towels, or a shop vac on the wet setting, to soak up whatever is left.
- Twist and lift out the removable filter assembly, usually located at the bottom center or corner of the tub.
- Inspect the sump opening underneath. This is where broken glass, bones, and produce stickers tend to collect.
Pro Tip: Never dig around the sump with your bare fingers. Broken glass hides in that debris more often than you’d think. Use tweezers or needle-nose pliers, and rinse the filter under the tap before snapping it back into place.
How Do You Test a Dishwasher Drain Pump?
Once the filter and sump are clean, and you’ve forced a drain with no luck, the pump itself becomes the prime suspect. The good news is you can rule a lot in or out without opening the pump housing at all.
Run a cycle and put your ear close to the base of the machine during the drain portion:
- Steady humming, no water movement: the motor has power but the impeller is jammed, usually by a bit of glass, a bone fragment, or a wad of paper.
- Complete silence: the pump isn’t getting power, which points to a dead motor, a blown thermal fuse, or a wiring issue. This diagnostic split between humming and silence is a reliable first test that saves homeowners from replacing a pump that was never actually broken.
- Grinding or rattling: something solid is caught in the impeller blades, and continued running risks damaging the motor.
If you hear humming, most models let you access the pump and impeller by removing the sump cover or filter housing, though the exact steps vary by brand. Once exposed, try spinning the impeller by hand. If it’s stuck, look for a lodged object and remove it with pliers rather than force.
If you hear nothing, unplug the unit completely and test the pump motor with a multimeter set to resistance. An open circuit reading (OL) means the motor windings are dead and the pump needs replacing. A mid-range continuity reading suggests the windings are fine but something mechanical is seizing the shaft, which is often fixable without buying a whole new pump.
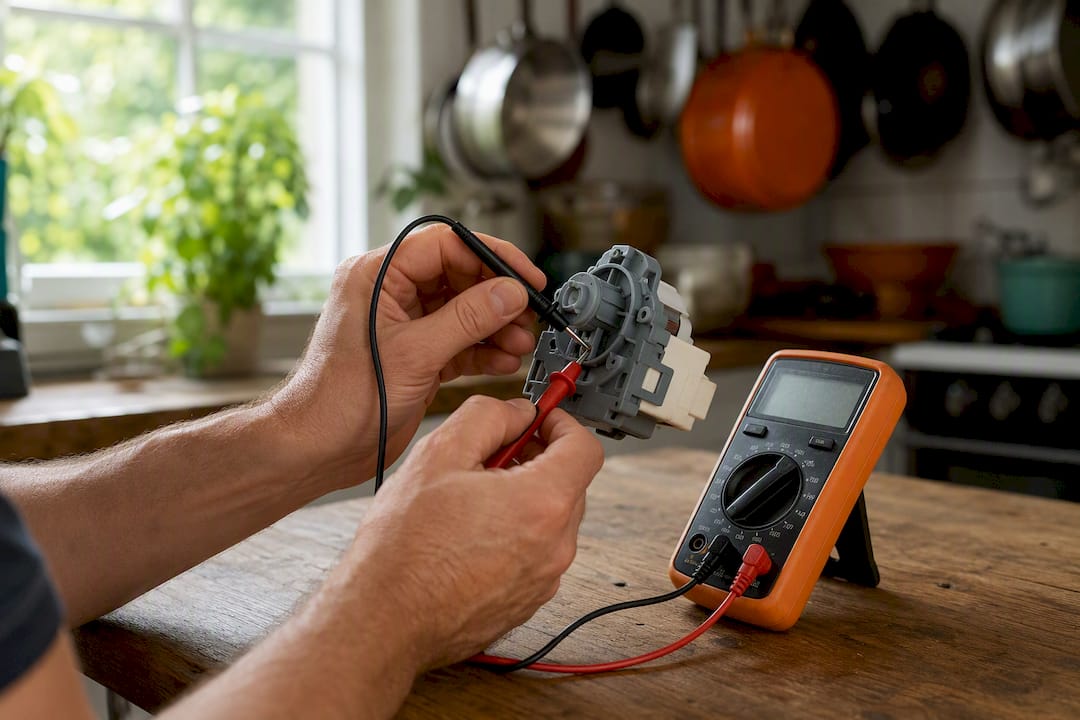
Roughly one in three “broken pump” calls turns out to be a jammed impeller rather than a dead motor, which is exactly why the listen-and-spin test matters before you order parts.
How to Clear Hoses, Disposal Knockouts, and Small Parts Yourself
Once you know it’s not the filter or the pump, the next suspects are downstream: the hose, the disposal connection, and the air gap.
- Disconnect the drain hose under the sink. Place a bucket underneath first, since it’s full of standing water. Detach it from the disposal or air gap fitting and flush it out with a hose or by running water through it from the other end.
- Check for the disposal knockout plug. If your dishwasher connects to a garbage disposal, there’s a knockout disc inside the disposal’s inlet port that must be removed before installation. A missing or overlooked knockout is one of the most common causes of drainage failure after a kitchen remodel. Find the inlet, tap the plug loose with a screwdriver and hammer, then fish out the plastic disc so it doesn’t fall into the disposal chamber.
- Reposition the hose for a proper high loop. The hose should climb at least a few inches above the sink drain level before going down again, or connect to a dedicated air gap fitting on the countertop. This prevents dirty sink water from siphoning back into your dishwasher.
- Replace cheap parts yourself when it makes sense. Filters, hose clamps, and even basic pump modules are inexpensive and widely available, and swapping them is often the most economical repair for a machine that’s otherwise in good shape.
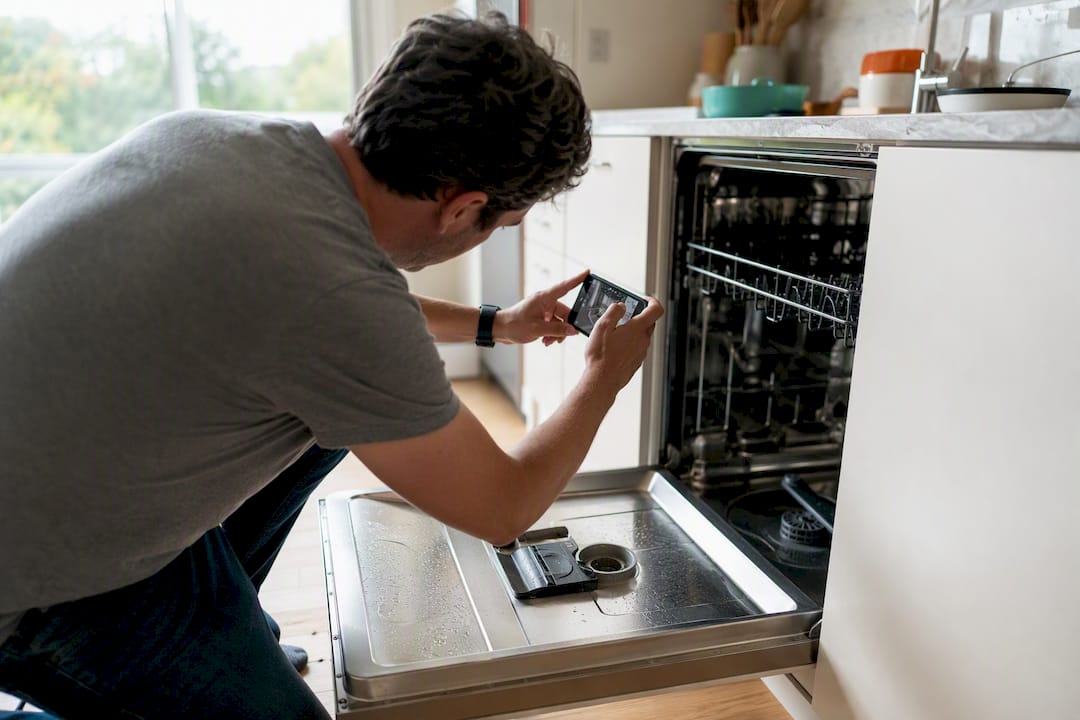
Pro Tip: Take a photo of the hose routing before you disconnect anything. It sounds obvious, but plenty of DIYers reassemble the hose backward or skip the high loop entirely, which just brings the same drainage problem back in a few weeks.
When Should You Call a Professional Dishwasher Repair Tech?
Some symptoms mean stop troubleshooting and pick up the phone.
- A burning smell or visible smoke, ever.
- Water leaking from the sealed base of the tub rather than pooling in the bottom.
- Total pump silence after you’ve confirmed power is reaching the outlet.
- The same drainage fault returning within days of a DIY fix.
If the filter, hose, and disposal checks all come up clean, you may be looking at a control board fault or sealed-sump damage, and both typically require a technician’s tools and diagnostic software.
Before the technician arrives, write down your model number (usually inside the door frame), take a couple of photos of the standing water and filter area, and list the steps you’ve already tried. That alone can shave real time off a service call, since you’ve already ruled out the easy stuff.
What Maintenance Prevents Future Drainage Problems?
Most repeat drainage issues come down to habits, not hardware.
- Clean the filter monthly, or more often if you run a lot of greasy pans through the wash.
- Scrape large food scraps off plates before loading instead of relying on the dishwasher to handle everything.
- Run a vinegar or dishwasher cleaner cycle every month or two to break down grease buildup in the hose and pump area.
- Recheck the hose routing and disposal connection once a year, especially if you’ve had any plumbing work done nearby.
Pro Tip: If your kitchen layout makes hose access awkward, it’s worth rethinking the setup once rather than fighting it every time something clogs. Our guide on building a better dishwashing setup covers hose and disposal placement that actually holds up over years of use.
Why Trust This Dishwasher Drainage Guide?
Kitchen Devotion covers appliance troubleshooting the way we cover everything else in the kitchen: practical, specific, and written for people who want to fix the problem today, not read a sales pitch first. This guide draws on the same repair logic that underlies our other appliance content, including our breakdown of dishwasher error codes and our guide to fixing a dishwasher that won’t start. Routine appliance checks catch small issues like these before they turn into bigger repairs, which is the philosophy behind everything we publish here.
The Checklist Beats the Guesswork
Most people’s instinct when a dishwasher won’t drain is to assume the worst, the pump is dead, the machine is toast, time to shop for a new one. That instinct is usually wrong, and it’s expensive to act on. The filter and the disposal knockout plug cause more drainage failures than the pump ever does, and both take five minutes to check.
Where conventional troubleshooting advice falls short is the order of operations. A lot of guides jump straight to “test the pump” without mentioning that the pump is rarely the actual problem. If you’ve read this far, you already know to start with the filter, force a reset, and check the disposal connection before you touch a multimeter.
The one thing I’d push back on: don’t skip the listening test to save time. It takes fifteen seconds and it tells you whether you’re dealing with a five-minute fix or a part order. Homeowners who skip straight to buying a new pump based on a guess waste more money than the part itself costs.
— K. Connors
Ready to Upgrade Instead of Repair?
If your dishwasher’s drain pump has finally given out, or the control board is asking for more money than the machine is worth, Kitchendevotion gets you to the right replacement without wading through a hundred spec sheets and conflicting reviews. Unlike a repair forum that only tells you what broke, we focus on what to buy next: which dishwashers actually hold up, which features matter, and which ones don’t.

Our kitchen appliance priority list for new homeowners walks through exactly where a new dishwasher should rank against your other kitchen needs, and how to avoid paying for features you’ll never use. If you’re already leaning toward replacement rather than another repair bill, start there and compare your options before you commit to anything.
Sources
For model-specific steps, consult your dishwasher’s manual alongside these repair guides: DIY Stack Exchange’s pump testing thread, iFixit’s drainage troubleshooting guide, and Bosch’s support page on tub water levels.
- Dishwasher drain pump: how to test (DIY Stack Exchange)
- Dishwasher Not Draining: How to Fix Standing Water (Axis Appliance Repair)
- Dishwasher Drain Pump Not Working? Test + Replace (2026)
- How to Troubleshoot Drainage Issues in a Dishwasher (iFixit)
FAQ
Why Is There Standing Water in the Bottom of My Dishwasher?
Standing water usually means the filter or sump is clogged, the drain hose is kinked, or the disposal knockout was never removed. A small amount under about two cups can be normal on some models due to condensation drying, but more than that, or dirty water, signals a real drainage fault.
How Do You Force a Dishwasher to Drain?
Press and hold the Cancel or Drain button for 5 to 10 seconds to trigger a fresh drain cycle. This often clears a minor blockage and restarts the pump without needing to open the machine.
How Do I Know if My Dishwasher Drain Pump Is Clogged?
Run a cycle and listen during the drain phase. A steady hum with no water movement points to a jammed impeller, while total silence usually means the pump isn’t receiving power at all.
Can a Bad Garbage Disposal Cause a Dishwasher Not to Drain?
Yes. A clogged disposal or a knockout plug that was never removed during installation is one of the most common and overlooked causes of dishwasher drainage failure.
Is It Worth Repairing a Dishwasher That Won’t Drain?
It depends on the fault. Clearing a filter, hose, or disposal clog costs nothing but time, while a pump or control board replacement runs $150 to $450. If multiple parts are failing at once, replacing the dishwasher is often the more economical choice.





No comment