A burr grinder, a digital scale, a brewer matched to your method, and a kettle are all you need to make genuinely great coffee at home. Use a 1:16 ratio (1 gram of coffee to 16 grams of water) as your starting point for brewing, as recommended by specialty coffee guidance. Dose 15g coffee to 240g water for a single cup, and measure by weight to ensure consistent results.
Buy in this order: burr grinder first, then a scale, then your brewer, then a kettle. The grinder matters most because grind consistency drives extraction more than any other variable.
Table of Contents
- Which coffee brewing method fits your kitchen and schedule?
- The four variables that control how your coffee tastes
- What to buy first: a compact starter kit for small kitchens
- Three recipes you can brew tomorrow
- Cleaning and upkeep that keeps your coffee tasting fresh
- Fix common taste problems: sour, bitter, weak, muddy
- Key Takeaways
- The gear-first trap most beginners fall into
- Kitchendevotion’s starter kit matches the buy order
Which coffee brewing method fits your kitchen and schedule?
No single method is universally best; the right one fits your morning, not a ranking list. The two broad categories are immersion and percolation, and they produce noticeably different cups.
Immersion (French press, AeroPress) steeps grounds in water for the full brew time. The result is full-bodied, oily, and forgiving. Immersion methods tolerate grind inconsistency better than percolation, which makes them the right starting point if you don’t own a burr grinder yet.
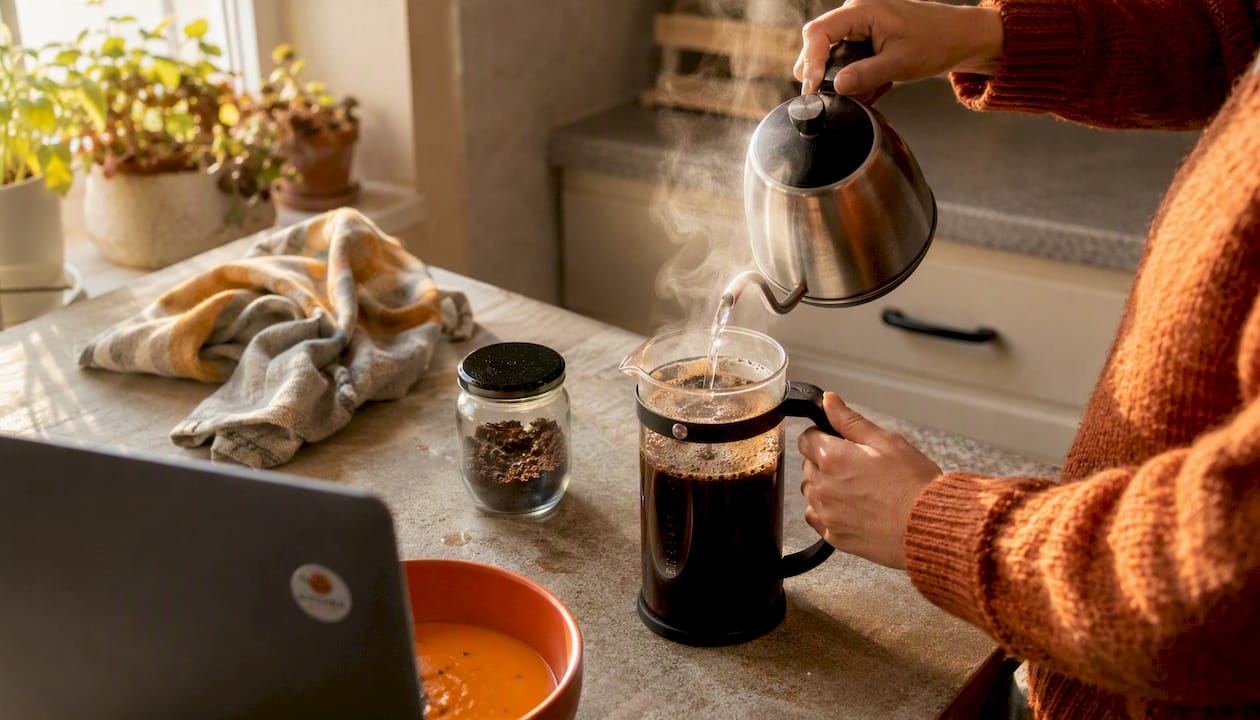
Percolation (pour-over, automatic drip) pulls water through grounds continuously. The cup is cleaner and brighter, with more distinct origin flavors. It rewards precision in grind size, pour rate, and temperature.
A few practical questions narrow the choice fast:
- One or two cups a day? A manual pour-over or French press fits without taking up counter space.
- Multi-cup household or busy mornings? An SCA-certified automatic drip machine handles volume with one button.
- Enjoy the ritual? Pour-over gives you something to do with your hands and improves with practice.
- Espresso drinks? That’s a separate path entirely, with a steeper skill curve and a $700+ entry price.
Pro Tip: Pick one method and brew it for two weeks before buying anything else. Technique beats gear for beginners, and switching methods mid-learning resets your progress.
The four variables that control how your coffee tastes
Get these four right and the brewer almost doesn’t matter. Skip them and no equipment upgrade fixes the cup.
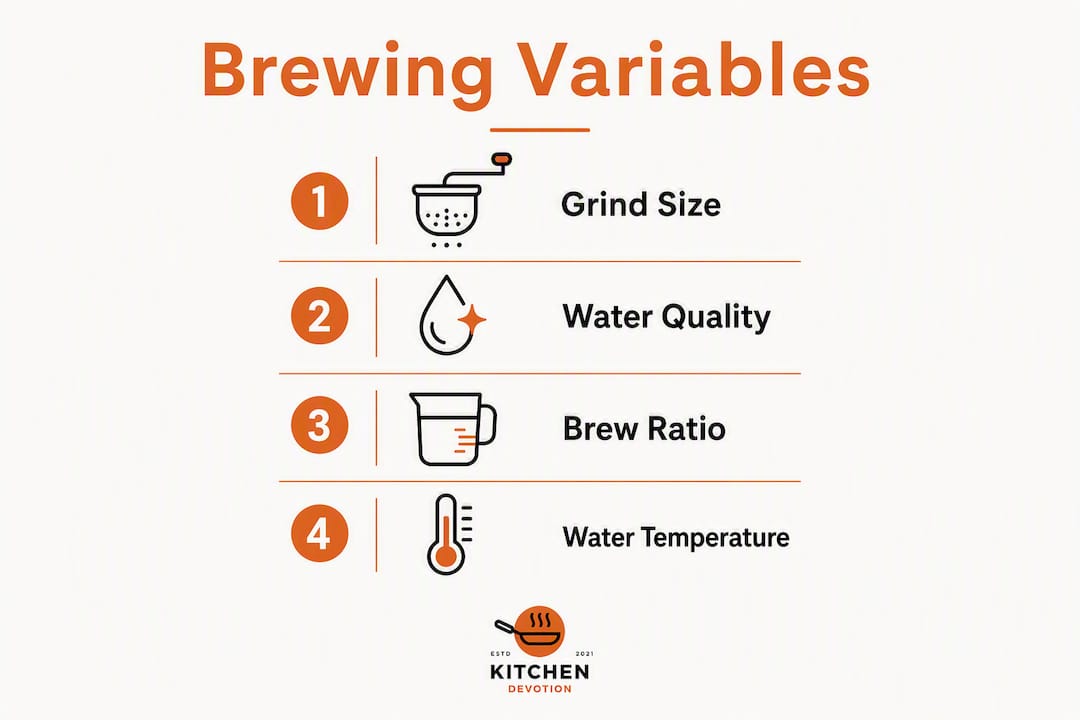
- Grind size. Finer grinds extract faster; coarser grinds extract slower. Match grind to method: coarse for French press, medium-fine for pour-over, medium for drip. A burr grinder produces consistent particle size that a blade grinder simply can’t match.
- Water temperature. The target is 195–205°F for all hot methods. Below 195°F, coffee under-extracts and tastes sour. Above 205°F, it over-extracts and turns bitter or harsh.
- Brew ratio. Start at a 1:16 coffee-to-water ratio as the baseline and adjust as needed for strength. This baseline is recommended by specialty coffee guidance; measuring by weight is essential for accuracy.
- Contact time. French press: 4 minutes. Pour-over: 3–4 minutes. Automatic drip: set by the machine. Time and grind size are linked — if you grind finer, shorten the contact time slightly to avoid over-extraction.
Brewing by weight with a scale that reads to 0.1g is the single most effective way to make your results repeatable. Volume measures (tablespoons, scoops) vary with bean density and roast level. A scale removes that variable entirely. For more on choosing the right tool, the kitchen scale guide at Kitchendevotion covers resolution and timer features in detail.
Water quality matters more than most guides admit. Specialty coffee guidance recommends water with a TDS of 75–175 ppm; very soft or very hard water both hurt extraction. For most households on municipal tap, a basic carbon filter removes chlorine and noticeably improves cup clarity.
Pro Tip: Change only one variable at a time when troubleshooting. If you adjust grind size and temperature simultaneously, you won’t know which one fixed (or broke) the cup.
What to buy first: a compact starter kit for small kitchens
The entry-level setup is about controlling extraction, not spending more. Three items do the real work: grinder, scale, brewer. Everything else supports them.
Purchase order:
- Burr grinder — adjustable settings, conical or flat burrs. Most home brewers improve flavor more by upgrading the grinder than by upgrading anything else.
- Digital scale — 0.1g resolution with a built-in timer if possible.
- Brewer — method-specific (V60 dripper, French press, or drip machine).
- Gooseneck kettle — narrow spout for pour-over control; variable temperature is a bonus, not a requirement.
- Filters and airtight storage — paper filters for your brewer, a sealed canister for beans.
Budget stacks:
| Stack | Who it’s for | Approximate cost |
|---|---|---|
| Single-cup manual | One or two cups daily, small counter | $150 |
| Two-person electric | Two people, faster morning routine | $300 |
| Family/multi-cup drip | Four or more cups, batch brewing | $300 |
For single-cup brewers, a manual hand grinder offers better grind quality per dollar. Electric grinders are faster and better suited to multi-cup households. Browse the grinder options at The J Coffee Collection if you want to compare portable and electric models side by side.
Kitchendevotion’s curated starter kit follows this exact buy order: grinder first, then scale, brewer, and kettle. It’s built for small kitchens and avoids the common mistake of spending on a premium brewer before owning a decent grinder.
Three recipes you can brew tomorrow
French press
Use 30g coffee (coarse grind) to 480g water at 200°F. Add all the water at once, set a timer for 4 minutes, then press slowly and pour immediately. Don’t let it sit after pressing or the grounds keep extracting. Sour result? Grind slightly finer or extend steep to 4:30. Bitter result? Grind coarser or pull back to 3:30.
Pour-over
Use 15g coffee (medium-fine grind) to 240g water at 200°F. Wet the filter first to rinse paper taste. Add grounds, pour 30g of water, and wait 30–45 seconds for the bloom — this releases CO₂ and improves extraction uniformity. Pour the remaining water in slow, concentric circles over 2–3 stages, targeting a total brew time of 3–4 minutes. Sour result? Grind finer. Bitter result? Grind coarser or slow your pour.
Automatic drip
Use the same 1:16 ratio scaled to your carafe size. For a 10-cup machine, that’s roughly 60g coffee to 960g water. Use a medium grind — slightly coarser than pour-over. Most cheap drip machines brew below 195°F, which produces weak, sour coffee. If your machine doesn’t specify a brew temperature, look for SCA-certified models; they hold the correct range. Weak result? Add more coffee rather than grinding finer, since basket geometry limits how fine you can go.
Freshly roasted beans need 2–7 days of rest after roasting before they brew well. If your coffee tastes flat or gassy, check the roast date on the bag. For help matching beans to your method, the specialty coffee blends guide at The J Coffee Collection is a useful starting point.
Cleaning and upkeep that keeps your coffee tasting fresh
Stale oils and mineral buildup are the two most common reasons a good setup starts producing bad cups. Neither takes long to fix.
Daily: Rinse the brewer, carafe, and any removable parts with hot water immediately after use. Empty and dry the French press plunger. Don’t let wet grounds sit.
Weekly: Wash the brewer with mild soap, rinse thoroughly, and dry. Wipe down the grinder’s grounds chute. Check the kettle for scale buildup around the spout.
Monthly: Descale the kettle with a citric acid solution or a commercial descaler. Clean the grinder hopper and burrs with a dry brush — never water. If you use a drip machine, run a descale cycle per the manufacturer’s schedule.
Pro Tip: Store whole beans in an airtight container away from light and heat, not in the freezer unless you’re storing a large batch long-term. Grind immediately before brewing. Pre-ground coffee goes noticeably stale within minutes of grinding.
Replace a carbon water filter every 2–3 months under normal household use, or per the manufacturer’s recommendation. A clogged filter stops removing chlorine and can introduce off-flavors of its own.
Fix common taste problems: sour, bitter, weak, muddy
Change one variable at a time. Two changes at once make it impossible to know what worked.
| Symptom | Likely cause | One-step fix |
|---|---|---|
| Sour / sharp | Under-extraction | Grind finer or raise water temperature |
| Bitter / harsh | Over-extraction | Grind coarser or shorten contact time |
| Weak / watery | Too little coffee | Increase dose (try 1:14 ratio) |
| Muddy / gritty | Grind too fine or wrong filter | Grind coarser; check filter fit |
| Flat / no aroma | Stale beans or water too cool | Use fresher beans; check water temp |
If sour and bitter flavors appear in the same cup, the grinder is usually the culprit. A blade grinder or worn burrs produce a mix of fine and coarse particles that simultaneously over- and under-extract. Upgrading the grinder fixes this where no ratio or temperature adjustment can.
Water is the second suspect. If you’ve ruled out grind and ratio, test with filtered water. Chlorinated tap water suppresses clarity and adds a chemical edge that reads as bitterness.
Key Takeaways
A burr grinder, a digital scale, and a 1:16 brew ratio are the three non-negotiable foundations of consistently great home coffee, as recommended by specialty coffee guidance.
| Point | Details |
|---|---|
| Grinder first | Spend your first dollars on a burr grinder; it improves the cup more than any other upgrade. |
| Brew by weight | Use a 0.1g-capable scale and a 1:16 ratio for repeatable results every morning. |
| Water temperature | Keep water between 195–205°F; below that range, coffee under-extracts and tastes sour. |
| Pick one method | Master French press, pour-over, or automatic drip before adding gear or switching methods. |
| Kitchendevotion starter kit | Kitchendevotion’s curated kit follows the recommended buy order for small kitchens and beginner budgets. |
The gear-first trap most beginners fall into
Most coffee advice online is written by people who already own $2,000 worth of equipment. That creates a subtle distortion: the recommendations assume you have a grinder, a scale, and filtered water, and then argue about which $300 kettle is worth it.
The real beginner mistake isn’t buying the wrong brewer. It’s buying the brewer before the grinder. A $15 French press with a good burr grinder produces a better cup than a $200 pour-over setup fed by a blade grinder. The physics are simple: uneven particles extract unevenly, and no technique fixes that downstream.
The second trap is switching methods before mastering one. Pour-over and French press produce genuinely different cups, but the variables that govern both are identical. Grind, temperature, ratio, time. Learn those on one method and the second one takes a weekend to dial in, not months.
The buy-order advice in this guide — grinder, scale, brewer, kettle — isn’t arbitrary. It reflects where each dollar has the most impact on the cup. A beginner-friendly cooking setup follows the same logic: buy the tools that do the most work first, and add the refinements later.
Kitchendevotion’s starter kit matches the buy order

Kitchendevotion’s curated coffee starter kit is built around the same priority order this guide recommends: grinder first, scale second, brewer and kettle to follow. Every item is chosen for small-kitchen fit, easy cleanup, and beginner usability — no specialty-shop knowledge required to use it well.
The kit covers the functional essentials without padding the list with accessories you won’t use in the first six months. It’s the practical alternative to building a setup piece by piece from scratch, with the added reassurance that the items work together as a matched set.
Check the kitchen appliance priority list at Kitchendevotion to see how the coffee kit fits into a broader home setup, or browse the full collection to find the right stack for your kitchen size and daily volume.
What is the best coffee-to-water ratio for home brewing?
Start at a 1:16 ratio (1 gram of coffee to 16 grams of water), as established by specialty coffee guidance. Measure by weight for repeatable results.
Do I really need a burr grinder?
Yes, if cup quality matters to you. A burr grinder produces consistent particle sizes that extract evenly; a blade grinder produces a mix of fine dust and coarse chunks that brew unevenly no matter how good your technique is.
What water temperature should I use for coffee?
195–205°F for all hot brewing methods. Boil water and let it rest off heat for 30 seconds to land in that range without a thermometer.
Which brewing method is easiest for beginners?
French press. It’s the most forgiving of grind inconsistency, temperature variation, and technique, and the recipe is straightforward: add grounds, add water, wait 4 minutes, press.
Why does my coffee taste sour?
Sour coffee is almost always under-extracted. Grind finer, raise your water temperature closer to 205°F, or extend contact time slightly. Change one variable at a time to isolate the fix.



No comment