A small pantry gets usable in one session, roughly 60 to 90 minutes, using three moves: purge, zone, fit. That’s it. No weekend project, no $400 container haul from a big-box store. You empty the shelves, sort what’s worth keeping, split it into three zones based on how often you actually reach for it, then size containers to your real shelf dimensions instead of guessing.
Here’s the session breakdown:
- Empty and sort (20 to 30 minutes): everything comes out, gets grouped, expired stuff gets tossed.
- Zone and size (15 to 20 minutes): decide what’s daily, what’s for cooking, what’s backstock, and measure your shelves.
- Return with fitted containers (20 to 30 minutes): load zones front to back, label as you go.
Pro Tip: Do this on grocery shopping day, before the new haul arrives. You’ll see exactly what’s redundant instead of guessing from memory.
Expect a few immediate wins: clear sight lines to the back wall, way fewer duplicate condiment jars, and a front row you can grab from without digging. A focused afternoon, not a full weekend, is genuinely enough for most small and closet-style pantries.
Key Takeaways
Organizing a small pantry works best as a single 60 to 90 minute session built on three moves: purging what you don’t need, zoning by frequency of use into no more than three groups, and fitting containers to measured shelf dimensions.
| Point | Details |
|---|---|
| One-session plan | Purge, zone, and fit containers in roughly 60 to 90 minutes for most small pantries. |
| Three zones, not seven | Split items into daily, cooking, and weekly/backstock zones based on how often you use them. |
| Measure before buying | Record shelf depth, width, and vertical clearance before purchasing any bins or risers. |
| Weekly five-minute reset | Push items forward, check stock levels, and refile anything misplaced to stop pantry drift. |
| Kitchendevotion resource | Kitchendevotion’s pantry storage guides help match container sizing to real shelf dimensions before you buy. |
Table of Contents
- How Do You Organize a Small Pantry Step by Step?
- What Storage Tools Actually Save Space in a Small Pantry?
- Where Should You Put Things for Faster Reach?
- How Do You Organize a Small but Deep Pantry?
- How Do You Keep a Small Pantry Organized Long-Term?
- Measuring and Buying: What Actually Fits Your Shelves
- Why Fit Matters More Than Style in Small Pantry Storage
- Ready to Fit Your Pantry the First Time?
- Sources
- FAQ
How Do You Organize a Small Pantry Step by Step?
Step 1: The great pantry purge
Pull everything off the shelves. All of it, even the stuff on the top shelf you haven’t touched since spring. Group items into piles as you go: baking, snacks, canned goods, spices, appliances. This is where you actually see what you own, which is usually double what you thought.
Run through this quick decision sequence for each item:
- Check the date. Anything expired goes straight in the trash.
- Check the fill level. Near-empty boxes or bags with a spoonful left get tossed or consolidated.
- Check for damage. Torn bags, rusted cans, or anything pests could have gotten into gets sealed or discarded immediately.
- Check for duplicates. Keep the freshest, donate the rest if it’s unopened and shelf-stable.
Wirecutter’s advice here holds up well: prioritize function over an Instagram-perfect shelf at this stage. You’re not styling yet, you’re triaging.
Pro Tip: Seal any opened bags of flour, rice, or cereal in a container before they go back on the shelf, even temporarily. Pantry moths get in through unsealed packaging faster than people expect.
Step 2: Build three zones that match how you actually cook
Skip the seven-category pantry blueprint you see in magazine spreads. For a small pantry, three zones is the ceiling before the system collapses under its own complexity.
- Daily zone: eye and hand level. Coffee, cereal, snacks, oils. Whatever you touch every single day.
- Cooking zone: just below or beside daily. Pasta, canned tomatoes, spices, baking staples.
- Weekly or backstock zone: top shelf or floor. Bulk buys, extra cans, party supplies, appliances you use monthly.
A small pantry usually holds five to seven days of staples comfortably, which is exactly why three zones works better than seven. Households with kids lean daily-zone heavy with grab-and-go snacks up front; meal-prep households often need more cooking-zone real estate for bulk grains and proteins.
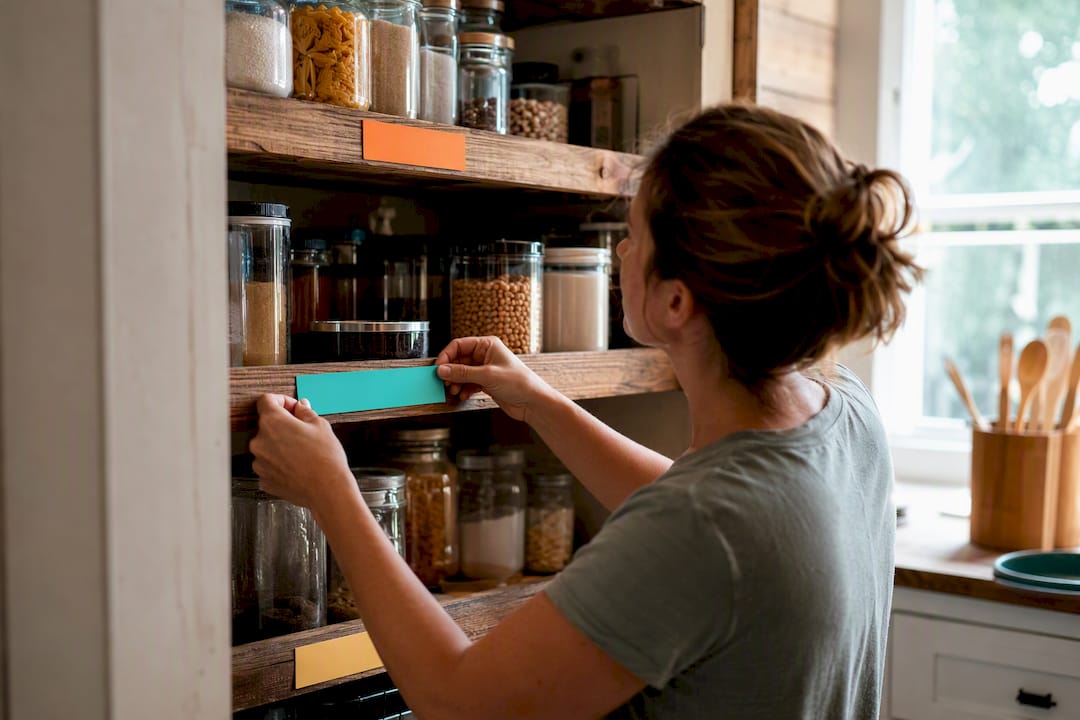
The rule that keeps zones from collapsing: zoning tied to frequency of use, not decorative categories, is what keeps the layout stable over time. Label each zone with a simple adhesive label or a cheap label maker, and let the frequently used stuff stay forward no matter what else changes.
Pro Tip: If two people cook in your kitchen, agree on the zones together. A system only one person understands falls apart in a week.
What Storage Tools Actually Save Space in a Small Pantry?
Buying containers before measuring your shelves is the single most common mistake in small pantry organization, and it’s an easy one to avoid. Measuring shelf depth and vertical clearance first eliminates most of the wasted purchases people make.
Here’s what actually earns its shelf space:
- Clear airtight containers for flour, sugar, rice, pasta, cereal. You see contents and remaining quantity at a glance, and food stays fresher longer.
- Wire or rope baskets for loose items like snack bags, produce, or packets that would otherwise slide around.
- A lazy Susan or turntable for oils, sauces, and spice jars, sized to your actual shelf depth so it doesn’t overhang the edge.
- Shelf risers or step shelves to stack cans or jars in tiers instead of one flat, wasted layer.
- Pull-out mesh bins or stackable can racks that act like drawers, sliding forward so nothing hides behind a wall of cans.
- Over-the-door organizers for spice packets, foil, wraps, or small condiment bottles.
- Under-shelf baskets that hang from a shelf lip and claim otherwise dead air.
- Vertical dividers to keep cutting boards, trays, or foil boxes from toppling sideways.
A short list of practical tools like these consistently outperforms complicated custom shelving systems in small pantries, mostly because they’re flexible enough to reconfigure as your stock changes.
Measure before buying anything. Shelf depth determines whether a bin fits like a drawer or juts out and blocks the door. On a 12-inch-deep shelf, go with slim bins and single-row risers. On an 18-inch-deep shelf, a pull-out bin or lazy Susan earns its space because reaching the back becomes a real problem otherwise.
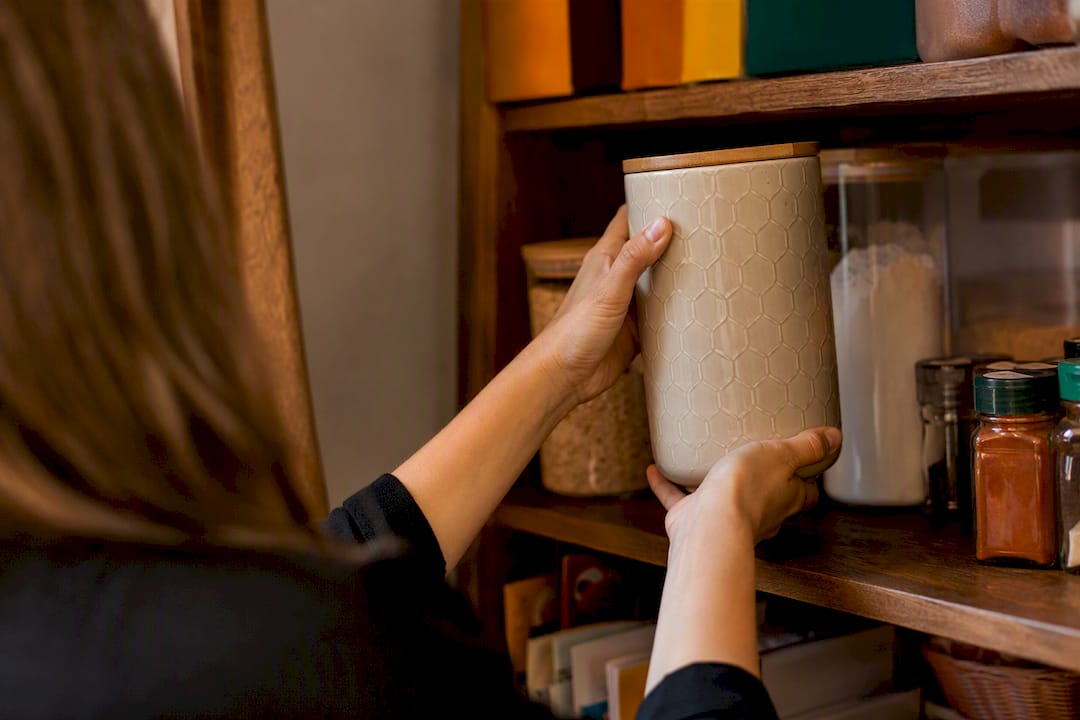
Pro Tip: Skip containers that look great but eat up depth with thick decorative walls. A container that’s an inch too wide on each side can cost you 15 to 20 percent of usable shelf width, which adds up fast in a pantry that’s already tight.
Where Should You Put Things for Faster Reach?
Daily items go at eye and arm height, always. Heavy items like water jugs, large oil bottles, or bulk flour bags belong low, near the floor, where a drop does less damage and lifting is easier on your back. Anything you touch once a month, holiday baking supplies, extra appliances, goes up top or on the floor in the back.
Backstock sits directly behind its matching front-row item, not in a random spot. That way restocking is just “push the full one forward.”
- Dedicate a low, front-facing basket to kid-accessible snacks if you have children in the house.
- Secure heavy glass jars on lower shelves rather than high ones, where a fall is more dangerous.
- Keep grains, cereal, and anything pest-attractive sealed in clear airtight containers rather than their original cardboard packaging.
Pro Tip: If your pantry has a lock or childproof latch, don’t rely on placement alone to keep kids out of medications or cleaning supplies stored nearby. Zone those items into a separate, secured space entirely.
How Do You Organize a Small but Deep Pantry?
Deep, closet-style pantries have one specific failure mode: stuff disappears behind the front row and gets forgotten until it expires. The fix is pull-forward storage, not more shelves.
Use bins with handles as makeshift drawers, sliding the whole unit forward instead of reaching past three rows of cans. Bins sized like drawers or genuine pull-out solutions keep everything at the back visible and usable instead of lost.
- Set up a front row for current use and a back row strictly for overflow of the same item.
- Use a turntable for bottles and jars so a quarter-turn brings the hidden one to the front.
- Add step shelves to create visual tiers, so labels stay readable from the doorway instead of stacked flat and hidden.
- Face labels forward and use clear containers wherever possible, since opaque bins in a deep pantry are where things quietly go to die.
Pro Tip: Adding a battery-powered puck light or motion-sensor strip inside a deep pantry solves half the “I forgot I had that” problem on its own. Dark corners hide inventory just as effectively as poor organization does.
How Do You Keep a Small Pantry Organized Long-Term?
Small pantries drift back to chaos faster than big walk-ins do, mostly because there’s less margin for error in tight shelving. Experts point to a five-minute weekly reset as the fix, not a monthly deep clean.
- Push items forward so nothing gets stranded at the back of a shelf.
- Scan low-stock items and add them to your grocery list on the spot.
- Return anything misplaced to its assigned zone before it becomes clutter.
- Wipe visible spills or crumbs so pests never get a reason to move in.
Keep a running list taped inside the door, or a short note on your phone, and rotate older items to the front whenever you restock, a simple FIFO habit that prevents forgotten jars in the back. Every few months, ask whether your three-zone setup still matches how you actually eat. Habits shift, and a zone that made sense in January might need adjusting by summer.
Measuring and Buying: What Actually Fits Your Shelves
Before you buy a single bin, grab a tape measure and record three numbers per shelf: depth, width, and vertical clearance to the shelf above. Skipping this step is how people end up with containers that don’t fit, don’t stack, or block the door from closing.
A simple starter kit covers most small pantries: two or three front bins for cooking staples, one riser set for cans, one small turntable sized to shelf depth, and one under-shelf basket for extra vertical storage.
| Shelf Depth | What Fits Well | Container Choice |
|---|---|---|
| 12 inches | Single-row cans, slim bins, small risers | Clear containers for visibility |
| 15–18 inches | Pull-out bins, turntables, deeper baskets | Mix of clear front, opaque backstock |
Choose clear containers for anything you check often, flour, cereal, snacks, and opaque bins only for backstock you won’t touch until the front row runs out.
Pro Tip: Buy one container, test it on the shelf for a day, then buy the rest of the set. It’s a five-dollar mistake instead of an eighty-dollar one if the size is wrong.
Why Fit Matters More Than Style in Small Pantry Storage
Most pantry advice online obsesses over matching containers and color-coordinated labels, and that’s backward for a small space. A pantry with six inches of wasted depth on every shelf loses more usable storage than one with mismatched jars that actually fit the wall.
The three-zone system works precisely because it resists the urge to over-engineer. Seven categories sound thorough, but in a closet-style pantry, they just create seven small piles of confusion instead of three clear ones. The households who keep their pantry organized past the first month are the ones who measured their shelves before buying anything and built a five-minute reset into an existing routine, like unpacking groceries, instead of treating it as a separate chore.
Function beats style every time in a space this size. A container that’s a perfect match for your dish set but wastes an inch of depth on each side isn’t decor, it’s a design mistake with a nice finish.
Ready to Fit Your Pantry the First Time?
Skip the trial-and-error container shopping. Kitchendevotion’s guide to organizing a kitchen pantry for maximum storage walks through zone-by-zone sizing so you buy the right bin dimensions once instead of returning three shipments.
If appliances are eating into your pantry’s floor space, Kitchendevotion’s air fryer collection highlights compact models that free up a full shelf for food storage instead of countertop clutter migrating into the pantry. Check the sizing details on that page and see which model actually fits the footprint you’re reclaiming.
Sources
- Organize your pantry by zones
- How to organize a small pantry with limited shelves
- How to organize a small pantry with deep shelves
- Pantry shelf ideas for 2026
- 20 small pantry organization ideas
FAQ
How do you maximize a small pantry?
Purge expired and duplicate items first, then limit organization to three zones based on frequency of use, and size containers to your actual shelf depth rather than buying generic bins.
What is the best way to organize my pantry?
The most reliable method is emptying shelves completely, sorting by category, then reloading into zones with daily items at eye level and backstock up top or on the floor.
What are the pantry zones people recommend?
Larger pantries sometimes use up to seven categories like baking, snacks, and canned goods, but small pantries work better with three: daily, cooking, and weekly or backstock.
How do you organize a small but deep pantry?
Use pull-out bins or handled containers that slide forward like drawers, put current stock in front and overflow behind it, and add a turntable for bottles and jars so nothing gets lost at the back.




No comment