
What is recipe development, and how do you approach it?
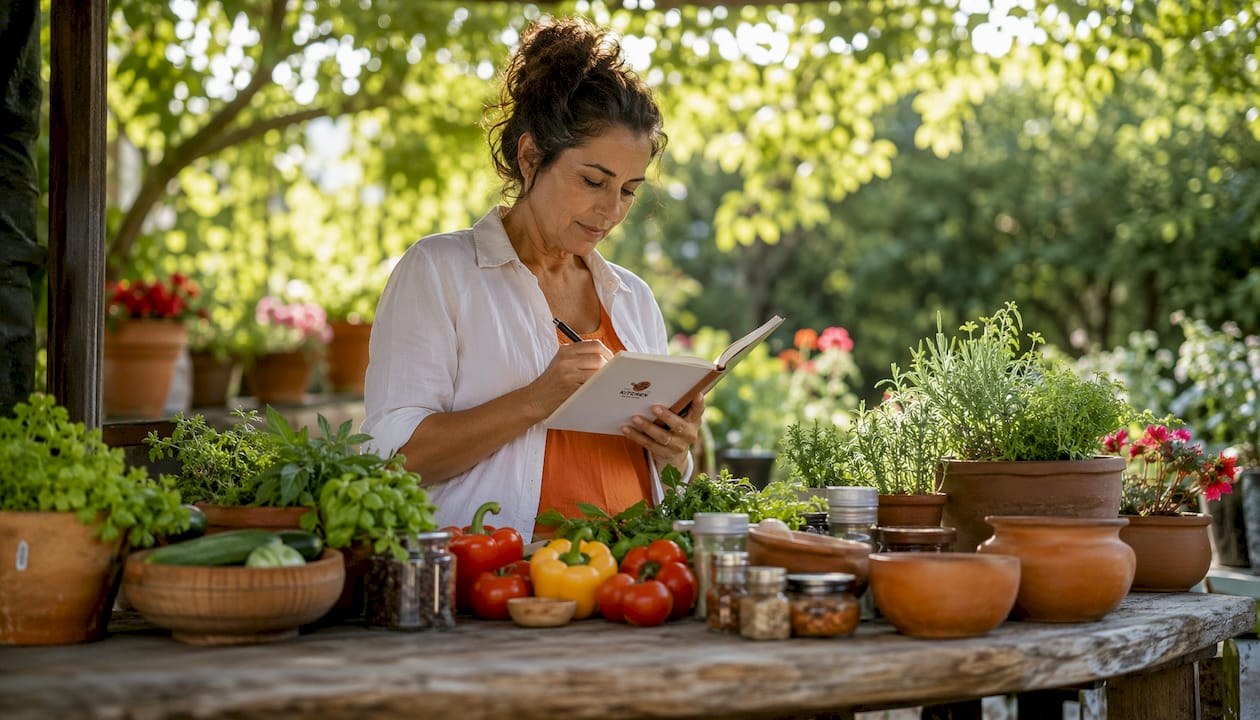
Recipe development is the methodical craft of designing dishes that deliver consistent flavor, texture, and presentation every time they are made. It is not guesswork. Think of it as running small, honest experiments in your own kitchen until a dish becomes reliable enough to repeat without notes.
The core principles are straightforward:
- Start with a clear concept. Know what you want the dish to taste, look, and feel like before you touch a pan.
- Research ingredient ratios and cooking techniques from cookbooks, reputable test kitchens, and food blogs to build a working foundation.
- Isolate one variable per test. Changing multiple factors at once makes it impossible to know what actually improved the dish.
- Document everything. Even minor adjustments like 30 extra seconds of sautéing or a pinch more salt shape the final result.
- Use sensory evaluation. Assess color, aroma, texture, and taste at each stage, not just at the end.
Culinary developers and home cooks alike follow this same loop. The difference is mostly scale. At home, you have the freedom to run tiny, low-stakes experiments on a Tuesday night with nothing but a notebook and a few measuring spoons.
Table of Contents
- How to develop a recipe step by step at home
- Common mistakes that derail recipe testing
- How to write a recipe that anyone can follow
- Which kitchen appliances actually support recipe development at home?
- Food safety considerations in recipe development
- Key Takeaways
- FAQ
How to develop a recipe step by step at home
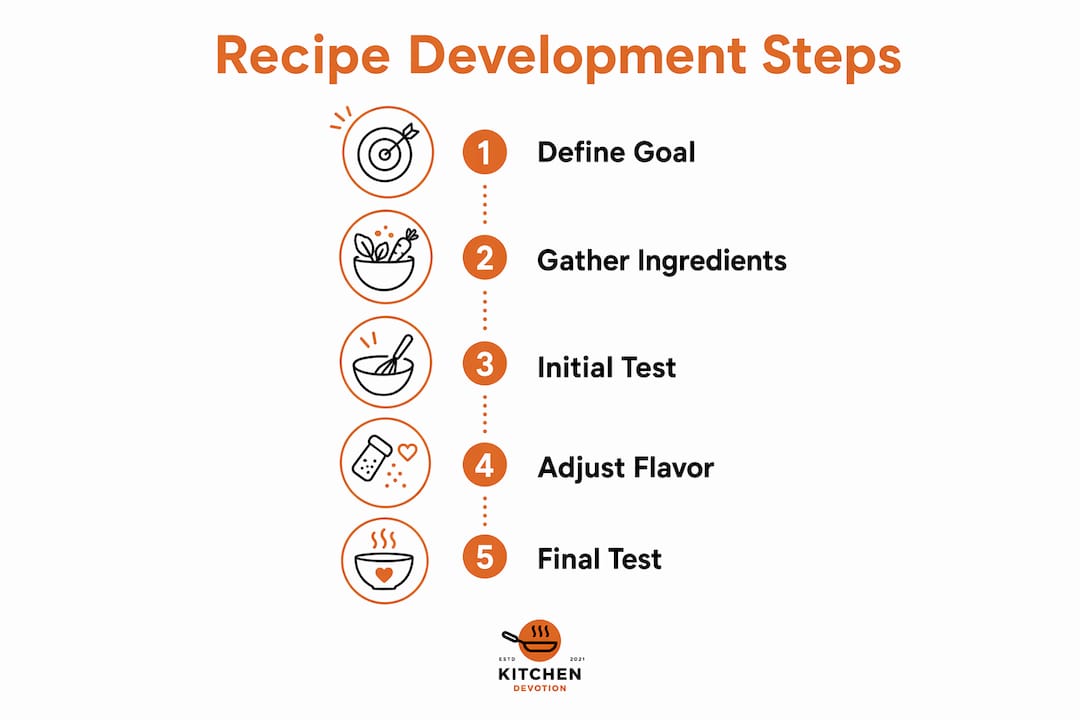
The process moves from inspiration to a tested, written dish. Here is how to work through it without wasting groceries or losing your mind:
- Ideation and research. Start with an idea, then look at several sources to note ingredient ratios, cooking times, and temperatures. Research informs; it does not dictate.
- Draft a preliminary recipe. Write down ingredients, quantities, and a rough method before you cook. This keeps you focused and gives you a baseline to measure changes against.
- Micro-batch your first tests. Cooking one-quarter or one-third of a recipe lets you test salt level, texture, and flavor balance without committing a full week of groceries. If the idea fails, the loss is small.
- Run controlled tests. Change only one factor per round. More lemon in batch A, less garlic in batch B. That is the same logic professional kitchens use.
- Conduct blind tastings with others. Serving two unlabeled versions reduces bias and often reveals that the simpler one wins.
- Record sensory notes. Log aroma, texture, timing, and taste in a dedicated notebook or a pinned phone note kept near the cutting board.
- Scale up only after success. Once a micro-batch version holds up across two or three tests, scale the recipe and confirm the result at full size. Scaling can shift seasoning and simmer time, so do not assume the small batch will behave identically.
Pro Tip: Keep a “flavor library” of small containers with your most-used spices and herbs. When developing something new, dip a toothpick into two or three and taste the combination before committing to a full batch. Also keep a “mistake journal.” Some of the best recipes start as a salvage job.
Common mistakes that derail recipe testing
Most recipe testing failures trace back to a handful of repeatable errors. Recognizing them early saves a lot of wasted groceries.
- Changing too many variables at once. If you adjust salt, cooking time, and an ingredient simultaneously, you will never know which change mattered. Test one component per round and keep everything else identical.
- Relying on memory. Memory flattens details. Write down the exact version you actually made, not the one you think you made. A strict baseline recipe is the only honest starting point.
- Ignoring scaling rules for salt and leaveners. Seasoning does not scale proportionally. Start at about 75% of the calculated amount for salt, spices, and baking powder, then adjust to taste. Doubling baking soda blindly produces a bitter, collapsed result.
- Using volume measurements for baking. A scooped cup of flour can vary by person and container. A digital scale removes that variable entirely.
- Skipping sensory evaluation. Something can taste good and still be improvable. Ask whether the brightness is right, whether the texture holds, whether the finish is complete.
- Expecting perfection on the first try. Recipe testing is a feedback loop, not a single event. Three successful trials with identical results is a reasonable bar before calling a dish finished.
You can also avoid a lot of these issues by building better habits around your tools. Kitchendevotion’s guide on common kitchen tool mistakes covers the equipment-side errors that quietly undermine otherwise solid recipes.
How to write a recipe that anyone can follow
A well-written recipe is the final product of all that testing. Getting it right means translating your cooking intuition into steps a stranger can execute reliably.
- List ingredients in the order they appear in the method. A cook should never have to hunt backward through the ingredient list mid-step.
- Use weight measurements, especially for baking. “1 cup of flour” varies; “120 grams of all-purpose flour” does not.
- Include sensory cues alongside time. “Cook for 12 minutes” is less useful than “cook for 12 minutes, until the edges pull away from the pan.” Ovens vary; visual cues do not lie.
- Keep language simple and sequential. Each instruction should describe one action. Stacked steps confuse cooks at every level.
- Specify the state of ingredients. “2 tablespoons of butter, softened” and “2 tablespoons of butter, melted” produce different results. Spell it out.
- Test recipe clarity with someone else. Hand the written recipe to a friend and watch where they pause or ask questions. Those are the gaps to fix.
- Use a recipe testing template to standardize your documentation across multiple rounds. Consistency in format makes it easier to spot what changed between versions.
For deeper technique guidance that feeds directly into cleaner recipe writing, Kitchendevotion’s resource on cooking techniques to master is worth bookmarking.
Which kitchen appliances actually support recipe development at home?
The right tools do not make you a better cook, but they remove the variables that obscure what is actually happening in the pan. These are the appliances worth having when you are serious about recipe testing:
- Digital kitchen scale. Scales are foundational for consistent results, particularly in baking. Look for one that reads to at least one gram.
- Instant-read thermometer. Internal temperature is the most reliable doneness indicator for proteins and baked goods. A thermometer removes the guesswork entirely.
- Multi-alarm timer. Tracking three cooking stages simultaneously is genuinely hard without one. A timer with multiple independent alarms keeps each element on schedule.
- Quality cookware set. Uneven heat distribution introduces a variable you cannot control for. A well-made cookware set with consistent thickness eliminates that problem.
- Air fryer. For rapid iteration on small batches, an air fryer cuts cook time and makes it easy to test texture and crispness variables quickly. Kitchendevotion carries a curated selection of air fryers suited to home testing.
- Small tasting spoons. White or neutral-colored spoons let you evaluate color and flavor without the background of the pan or bowl influencing your perception.
- pH strips. Useful for fermented foods, pickles, and any recipe where acidity is a controlled variable.
If you are building out your kitchen from scratch, Kitchendevotion’s kitchen appliance priority list is a practical starting point for deciding what to buy first.

Food safety considerations in recipe development
Food safety is not a separate concern from recipe development. It is built into every testing decision you make.
Raw proteins, dairy, and eggs require careful handling during repeated testing rounds. Keep raw and cooked items on separate surfaces, and wash hands and tools between each. When you are running multiple test batches in one session, cross-contamination risk rises simply because you are handling more ingredients more often.
Temperature control matters at both ends. The USDA defines the danger zone for bacterial growth as 40°F to 140°F. During testing, do not leave cooked batches sitting at room temperature while you evaluate earlier rounds. Refrigerate promptly, and label each container with the date, version number, and key changes.
When developing recipes that involve curing, fermenting, or preserving, the stakes are higher. Botulism risk in low-acid, anaerobic environments is real and not correctable by taste. Follow tested ratios from established sources for salt concentrations and pH targets rather than improvising those variables.
Finally, if you are testing recipes to share or publish, always verify that your final version meets safe minimum internal temperatures: 165°F for poultry, 145°F for whole cuts of pork and beef, and 160°F for ground meats.
Key Takeaways
Effective recipe development requires isolating one variable per test, documenting every adjustment, and confirming results across multiple successful trials before writing the final recipe.
| Point | Details |
|---|---|
| Isolate one variable per test | Changing multiple factors at once makes it impossible to identify what improved the dish. |
| Start seasoning at about 75% when scaling | Salt, spices, and leaveners rarely scale proportionally; starting at about 75% of the calculated amount is recommended, then adjust to taste after cooking. |
| Micro-batch first, scale later | Small test batches reduce waste and speed up learning before committing to a full recipe. |
| Document every adjustment | Even 30 extra seconds or a pinch more salt shapes the final result and must be recorded. |
| Write sensory cues into the recipe | Visual and aroma checkpoints make a recipe reproducible across different cooks and ovens. |
FAQ
What is the most important rule in recipe development?
Change only one variable per test batch. Adjusting multiple factors simultaneously makes it impossible to identify which change affected the dish.
How many times should you test a recipe before finalizing it?
A recipe is generally ready after at least three successful trials with identical measurements and techniques, confirming that someone else can follow it and get the same result.
How do you scale a recipe without ruining the flavor?
Use a conversion factor (desired servings divided by original servings), then start salt, spices, and leaveners at about 75% of the calculated amount and adjust to taste after cooking.
Why do blind tastings improve recipe testing?
Blind tastings reduce bias from expectations, especially when one version uses a premium ingredient. Tasters describe what they notice rather than confirming what they expect, which produces more honest feedback.
What food safety rule matters most during recipe testing?
Keep cooked and raw items on separate surfaces, refrigerate test batches promptly, and always verify safe minimum internal temperatures before sharing or publishing any recipe involving meat or poultry.




No comment