Home food preservation is safe and practical when you match the right method to the right food and follow research-tested recipes from the USDA and the National Center for Home Food Preservation (NCHFP). The six practical methods for home cooks are:
- Freezing — best for vegetables, meats, and prepared meals
- Water-bath canning — for high-acid foods only (fruits, pickles, jams)
- Pressure canning — required for all low-acid foods (vegetables, meats, soups)
- Dehydrating — ideal for herbs, fruits, and jerky
- Fermentation and pickling — for vegetables and condiments
- Vacuum sealing — extends quality in the freezer or fridge
The single non-negotiable rule: follow research-tested recipes exactly. Illinois Extension is direct about this — even small changes to ingredient ratios or processing times can alter acidity or density and create an unsafe product. For low-acid canned foods, the stakes are highest. Clostridium botulinum spores survive boiling water; only a pressure canner reaches the temperatures above 240°F needed to destroy them. A water-bath canner used on green beans or chicken is not a shortcut — it is a botulism risk.
Table of Contents
- Which food preservation method is right for your food?
- Core safety rules you must follow before preserving anything
- How to prepare and process food with each method
- What equipment is worth buying for home preservation?
- How should you label and organize preserved food?
- How do you know if preserved food has gone bad?
- Where to start: your first three steps
- Key Takeaways
- The case for slowing down before you preserve
- Your preservation-ready kitchen starts here
- Useful sources
- FAQ
Which food preservation method is right for your food?
The fastest decision rule: acid level and desired shelf life determine your method.
Fruits, jams, and high-acid pickles go to water-bath canning or the freezer. Vegetables, meats, poultry, and soups require pressure canning or freezing. Herbs and thin-sliced fruits dry beautifully in a dehydrator. Leftovers and portioned meals belong in the freezer, ideally vacuum-sealed to prevent freezer burn.
Match your equipment to your method before you start. A standard chest or upright freezer covers freezing. A pressure canner handles low-acid canning. A food dehydrator with horizontal airflow gives even drying. A fermentation crock or wide-mouth mason jar works for lacto-fermented vegetables. A vacuum sealer paired with freezer-grade bags rounds out most home setups.
Pro Tip: Refrigerator pickles and frozen blanched vegetables are the lowest-risk starting points — no special equipment, no pressure canner required, and the safety margin is wide.
Never improvise a canning recipe. If a tested recipe calls for bottled lemon juice in tomatoes, that acid addition is calculated. Swapping fresh lemon juice or skipping it entirely changes the pH and can push the product into unsafe territory.
Core safety rules you must follow before preserving anything
The foundation is simple: use a research-tested recipe and follow every parameter — processing time, pressure, headspace, and jar size — without substitution.
The pH 4.6 threshold is the dividing line. Foods at or above pH 4.6 are considered low-acid. NCHFP and USDA guidance is unambiguous: low-acid foods must be pressure canned because boiling water (212°F at sea level) cannot destroy C. botulinum spores. Only a pressure canner reaches the required temperature. High-acid foods (pH below 4.6) can be safely processed in a boiling water bath.
The FDA recommends keeping your refrigerator at or below 40°F and your freezer at 0°F. Freezing stops bacterial growth but does not kill bacteria — so correct handling before freezing and safe thawing in the refrigerator are both required to prevent illness.
Temperature targets matter beyond the freezer. The FDA advises using an appliance thermometer to verify these settings, since built-in dials are often inaccurate. For optimal quality, Virginia Tech Extension recommends 35°F as the refrigerator target, with 40°F as the safety ceiling.
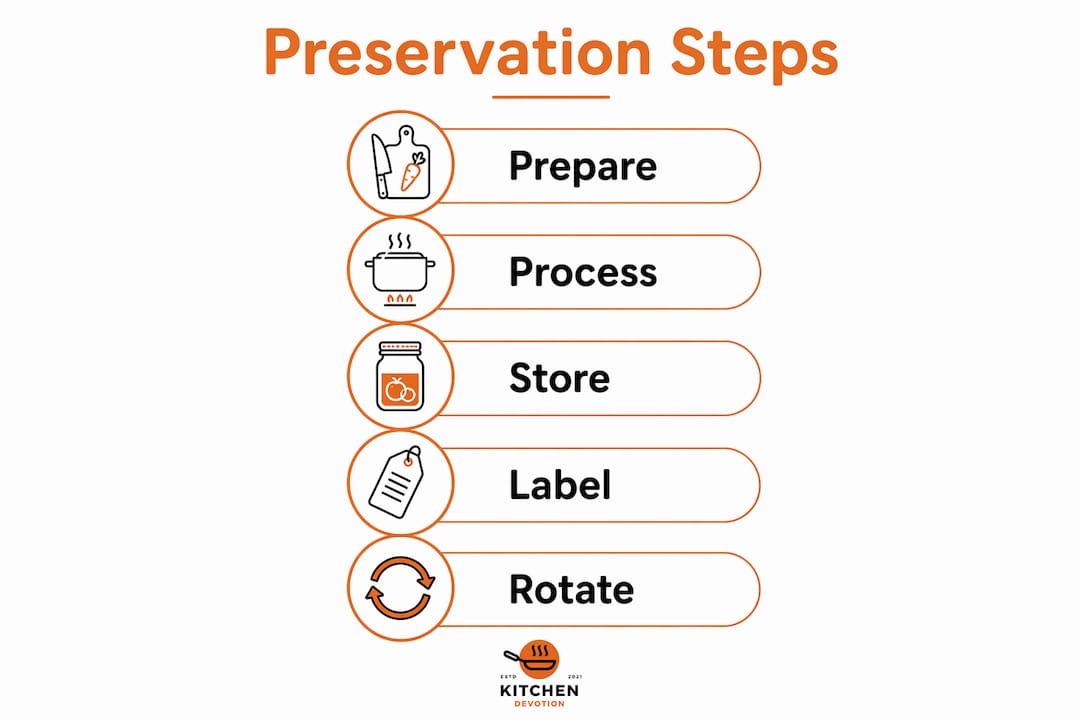
Label every item with the date processed and use FIFO (first-in, first-out) rotation. Overpacking a refrigerator or freezer restricts cold-air circulation and raises internal temperatures — a real safety issue, not just a quality one.
Pro Tip: Have your pressure canner’s dial gauge tested annually. Many Cooperative Extension offices offer this service free or at low cost — a slightly off gauge can mean under-processed food with no visible sign of the problem.
How to prepare and process food with each method
Freezing
Blanch vegetables before freezing: a brief boil (2–5 minutes depending on the vegetable) followed by an ice bath stops enzyme activity that causes off-flavors and color loss. Package in moisture-proof, gas-impermeable freezer wrap or bags, press out air, and seal tightly. Freezing stops bacterial growth but does not kill bacteria, so thaw food in the refrigerator — never on the counter. A practical check: if your ice cream isn’t brick-solid, the freezer isn’t reliably at 0°F.
Water-bath canning
Use only for high-acid foods. Leave the correct headspace (typically ¼ inch for jams, ½ inch for most fruits), follow hot-pack or raw-pack instructions from a tested recipe, and process for the exact time listed for your jar size and altitude. Tomatoes sit right at the pH borderline — always add bottled lemon juice or citric acid per NCHFP guidance to guarantee safe acidity.
Pressure canning
The only safe method for vegetables, meats, poultry, seafood, and soups. Vent the canner for 10 minutes before pressurizing, maintain steady pressure throughout processing, and never rush the cool-down. Altitude adjustments are required — both processing times and pressure settings must increase at elevations above sea level.
Dehydrating
Fruits, vegetables, and herbs dry well. Meats need special attention: USDA/FSIS recommends heating meat to 160°F (165°F for poultry) before or during dehydration to eliminate pathogens. Dehydrated foods retain most minerals and fiber but lose some vitamins, notably vitamin C. Store dried foods in moisture-proof, airtight containers away from light and heat.
Fermentation
Salt is the safety mechanism. Use non-iodized salt at roughly 2–3% by weight of the vegetables, keep everything submerged under the brine, and ferment at room temperature until the pH drops. Bubbling and a tangy smell are signs of active fermentation. Mold on the surface (not just kahm yeast, which is white and flat) is a discard signal.
Vacuum sealing
Vacuum sealing slows oxidation and prevents freezer burn, which is why it pairs well with the freezer. It does not replace thermal processing. Vacuum sealing a jar of green beans and putting it on the pantry shelf is not safe canning — the beans are still low-acid and unprocessed. For coffee and other dry pantry staples, vacuum sealing in airtight bags genuinely extends freshness; the same principle applies to storing coffee beans.
Common mistakes to avoid
- Changing tested recipe proportions (even doubling a batch changes density and heat penetration)
- Reusing single-use canning lids
- Under-processing because the gauge reads incorrectly
- Overcrowding the freezer or refrigerator
- Skipping labels and dates
Approximate shelf-life by method
| Method | Estimated Quality Window | Safety Note |
|---|---|---|
| Pantry-canned goods | 1–2 years (best quality) | Safe beyond if seal is intact; quality declines |
| Refrigerated pickles | 1–4 weeks | Keep below 40°F |
| Frozen foods | 3–12 months (quality) | Safe indefinitely at 0°F |
| Dehydrated foods | 12 months | Store airtight, cool, and dark |
| Lacto-fermented vegetables | 3 months refrigerated | Keep submerged under brine |
What equipment is worth buying for home preservation?
Three purchases cover most home preservation needs: a reliable freezer with a verified thermometer, a pressure canner, and freezer-grade packaging or a vacuum sealer.
- Freezer with thermometer: Temperature stability matters more than size. An appliance thermometer confirms you’re actually at 0°F, not just close.
- Pressure canner: A weighted-gauge model requires no annual calibration. A dial-gauge model needs yearly testing through your local Cooperative Extension office.
- Vacuum sealer and freezer bags: Moisture-proof, gas-impermeable packaging prevents freezer burn. Proper headspace management is still required.
- Dehydrator: Horizontal airflow models dry food more evenly than vertical-stack units. Worth buying if you preserve herbs, fruit, or jerky regularly.
- Fermentation vessel: A wide-mouth mason jar with an airlock lid works for beginners. A ceramic fermentation crock is the upgrade.
For readers building a kitchen from scratch, Kitchendevotion’s appliance priority list maps preservation-capable appliances to budget tiers. If space is tight, a multi-purpose appliance guide can help you find tools that pull double duty.
Pro Tip: Before buying a dehydrator, check whether your oven holds a steady 140–170°F — many do, and oven-drying works fine for occasional batches of herbs or fruit.
How should you label and organize preserved food?
Label and rotate every item — this is the single habit that prevents waste and keeps preserved food safe.
A complete label includes: item name, preservation method, processing date, and recommended use-by window. Masking tape and a permanent marker cost nothing and take ten seconds.
Labeling checklist:
- Item name (be specific: “diced tomatoes” not just “tomatoes”)
- Preservation method (frozen, canned, dehydrated, fermented)
- Date processed
- Use-by window based on the method
Temperature targets for home appliances
| Appliance | Safety Target | Quality Target |
|---|---|---|
| Refrigerator | Below 40°F | 35°F |
| Freezer | 0°F | 0°F or below |
A refrigerator thermometer is the cheapest insurance in your kitchen. Built-in dials drift. An inexpensive standalone thermometer tells you what’s actually happening inside.
Frozen food is safe indefinitely at 0°F, but quality does decline. Fats go rancid, textures soften, and flavors fade. NCHFP notes that canned goods also lose some vitamins over months and years, even when they remain safe. Use the shelf-life table above as your rotation guide, not a safety guarantee.
How do you know if preserved food has gone bad?
When in doubt, throw it out. That rule is not overcautious — it is the correct response to uncertainty about preserved food.
Unmistakable danger signs:
- Bulging or unsealed lids on canned goods
- Liquid spurting when a jar is opened
- Off-odors, cloudiness, or visible mold inside a jar
- Slimy texture on fermented vegetables
- Freezer-burned food with ice crystals throughout the packaging (safe but quality is gone)
Botulism is the exception that makes the “when in doubt” rule absolute. C. botulinum toxin can be present in low-acid canned food with no visible spoilage, no off-odor, and a normal-looking lid. NCHFP guidance states that low-acid or tomato foods not processed according to USDA-endorsed methods should be boiled in a saucepan for 10 minutes (add 1 minute per 1,000 feet of elevation) before tasting — but this is not a recommendation to consume food known to be significantly underprocessed. Discard it.
Reheat all leftovers to 165°F before serving. After a power outage, discard perishable refrigerated foods after 4 hours; a fully loaded freezer stays safe for about 48 hours if the door stays closed. If you’re unsure whether a canned product was processed correctly, contact your local Cooperative Extension office before opening it.
Where to start: your first three steps
- Choose one method that matches your food and equipment — refrigerator pickles or frozen blanched vegetables are the right first projects.
- Assemble the required safety tools — at minimum, an appliance thermometer and proper packaging materials.
- Pick one tested recipe from NCHFP or USDA and follow it exactly, without substitution.
Beginner-friendly first projects:
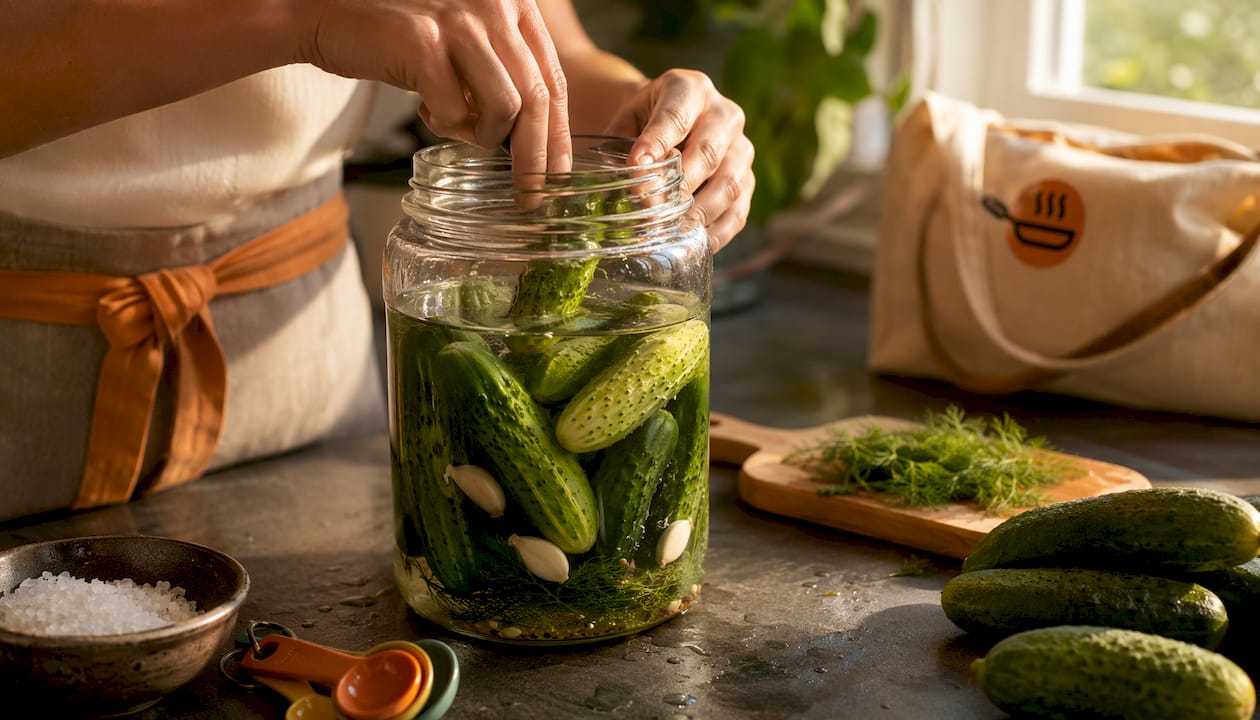
- Refrigerator dill pickles (no canning required, ready in 48 hours)
- Frozen blanched green beans or corn (requires only a pot, ice bath, and freezer bags)
- Dried herbs from your garden (oven or dehydrator, 1–4 hours)
For pressure canner gauge testing and hands-on classes, contact your local Cooperative Extension office. For tested recipes and processing tables, bookmark NCHFP and the USDA Complete Guide to Home Canning.
Key Takeaways
Safe home food preservation comes down to one rule above all others: use a research-tested recipe and follow every processing parameter exactly, every time.
| Point | Details |
|---|---|
| Use tested recipes only | Illinois Extension confirms even small recipe changes can alter pH or density and create unsafe products. |
| Match method to acid level | High-acid foods use water-bath canning; low-acid foods (vegetables, meats) require a pressure canner to reach 240°F+. |
| Keep correct temperatures | FDA targets: refrigerator below 40°F, freezer at 0°F; use an appliance thermometer to verify. |
| Label, date, and rotate | Apply FIFO to every preserved item; frozen food is safe indefinitely at 0°F but quality declines over months. |
| Kitchendevotion’s appliance guides | Kitchendevotion’s starter appliance list maps preservation-capable equipment to beginner budgets. |
The case for slowing down before you preserve
Food preservation rewards patience in a way that most cooking does not. The gap between a safe jar of home-canned tomatoes and an unsafe one is often invisible — same color, same smell, same sealed lid. That’s what makes the “follow tested recipes” rule feel abstract until you understand what it’s actually preventing.
The social-media version of home canning has made the process look casual: a pretty jar, a handwritten label, a satisfying pop. What it rarely shows is the pH meter, the altitude adjustment, or the pressure gauge check. Those details are not bureaucratic overcaution. They are the difference between a pantry staple and a health risk.
Kitchendevotion’s approach to appliance recommendations follows the same logic. A reliable freezer with a verified thermometer is not glamorous, but it is the foundation of safe long-term storage. A pressure canner that gets its gauge tested every year is worth more than one that sits unused because the process felt too complicated. The right equipment, used correctly, makes preservation genuinely practical — not just aesthetically satisfying.
If you’re new to this, start with the refrigerator and freezer. Get those temperatures right first. Then, when you’re ready to can, go straight to NCHFP or your local Cooperative Extension office for tested recipes and, if needed, hands-on guidance. The shortcut that skips those steps isn’t faster — it’s just riskier.
Your preservation-ready kitchen starts here
The appliances that matter most for safe home preservation are also the ones that make everyday cooking easier: a reliable refrigerator, a well-organized freezer, and the right packaging tools. Kitchendevotion curates exactly these kinds of practical, quality-focused picks for home cooks who want their kitchen to work harder without adding complexity.
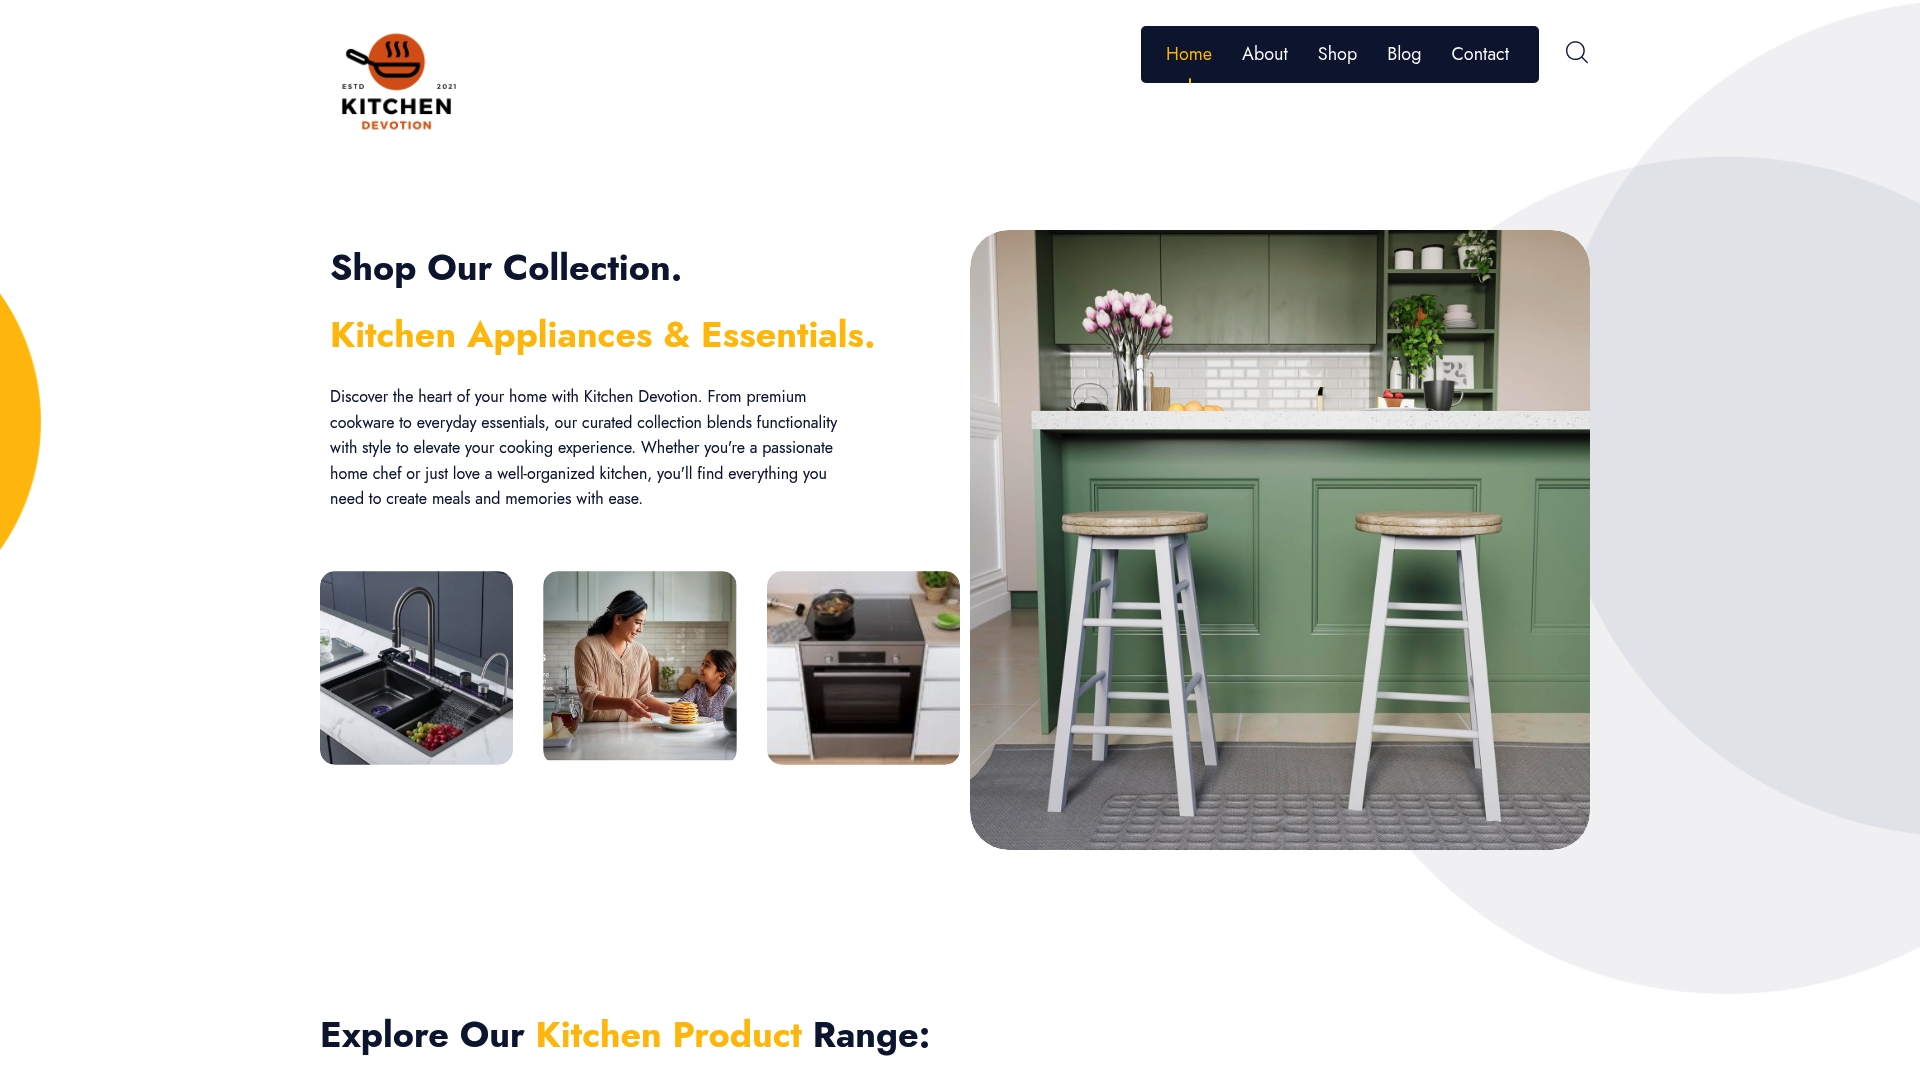
Whether you’re setting up a kitchen for the first time or upgrading what you have, Kitchendevotion’s kitchen appliance priority list gives you a clear, budget-aware starting point. It maps the appliances that support safe food storage directly to beginner and intermediate home cooks — no guesswork, no unnecessary purchases. Browse the full collection at Kitchendevotion and find the tools that fit your preservation goals.
Useful sources
Bookmark these resources before starting any canning or fermentation project:
- NCHFP — Principles of Home Canning: Tested recipes, processing times, pressure and altitude tables, and jar/lid guidance. The primary reference for all home canning decisions.
- USDA Complete Guide to Home Canning: Available through NCHFP; covers every food category with research-backed processing parameters.
- Illinois Extension — Food Preservation: Practical safety guidance, recipe testing rationale, and local class listings.
- FDA — Food Storage Safety: Temperature targets, power-outage rules, and appliance thermometer recommendations.
- Clemson HGIC — Preserving Foods: FIFO, labeling, and freezer management guidance for home cooks.
- Your local Cooperative Extension office: Free or low-cost pressure canner gauge testing, hands-on canning classes, and region-specific advice. Find yours through the USDA Extension locator.
FAQ
What foods require a pressure canner?
All low-acid foods — vegetables, meats, poultry, seafood, and soups — must be pressure canned. These foods have a pH at or above 4.6, and only a pressure canner reaches the temperatures above 240°F needed to destroy C. botulinum spores.
Can you use a water-bath canner for tomatoes?
Yes, but only with an acid addition. Tomatoes sit near the pH 4.6 borderline, so NCHFP requires adding bottled lemon juice or citric acid to every jar before processing to guarantee safe acidity.
How long does frozen food stay safe?
Frozen food stored at 0°F is safe indefinitely, but quality declines over months. Label and date everything so you rotate older items first.
What are the signs that a canned jar has gone bad?
Discard any jar with a bulging or unsealed lid, liquid that spurts on opening, off-odors, visible mold, or cloudiness. For low-acid foods not processed by USDA-endorsed methods, NCHFP advises boiling the contents for 10 minutes before tasting — but significantly underprocessed food should simply be discarded.
Do you need special equipment to start preserving food at home?
Not for the simplest methods. Refrigerator pickles need only mason jars and a refrigerator. Freezing blanched vegetables requires a pot, an ice bath, and freezer bags. Pressure canning requires a dedicated pressure canner — it is the one piece of equipment with no safe substitute.



No comment