
Start by emptying and purging your pantry, then build zones, contain like items in matched containers, label everything, and set a maintenance schedule. That single sequence, purge → zone → contain → label → maintain, solves most pantry chaos before you spend a dollar on bins. Put daily-use items at eye level, leave some breathing room in every category, and the same process scales whether you’re working with a narrow closet or a full walk-in.
TL;DR:
- Purge expired, duplicate, or stale items before measuring shelves to ensure containers fit and avoid unnecessary purchases.
- Use clear containers, risers, and pull-out bins selectively based on your space and item types to improve visibility and access.
- Store daily essentials at eye level and keep heavy items on sturdier shelves to optimize usability and reduce clutter.
- Limit the pantry to weekly-reached items at the front, and move bulk or rarely used products to secondary storage spaces.
- Regularly scan for expired items monthly and perform biannual reorganization to maintain a functional and tidy pantry system.
Table of Contents
- How to Organize a Pantry: Prep Before You Buy Anything
- Pantry Storage Solutions: Ideas Grouped by What You Actually Need
- Creative Pantry Space Ideas for Tight Footprints
- Pantry Decluttering Methods That Keep Working Months Later
- Best Pantry Organization Tips for Style Without Sacrificing Function
- Lighting Solutions for Pantries
- Safety First: Keep Cleaning Products Out of the Pantry
- Why Curated Storage Beats Impulse Buys
- Where to Find Storage and Small Appliances That Fit Your New System
- Sources
- FAQ
How to Organize a Pantry: Prep Before You Buy Anything
Before you touch a single storage bin, empty the whole pantry onto your counters and floor. This is the only way to see what you actually own, catch the three half-used bags of flour hiding in back, and toss anything expired.
Work through this sequence:
- Empty everything onto a table or counter so shelves are bare.
- Purge expired, stale, or duplicate items without guilt.
- Group what’s left by category: baking, breakfast, canned goods, snacks, spices.
- Inventory roughly what you have of each, so you don’t overbuy containers.
- Measure every shelf’s depth and height, plus awkward spots like the back corner or the inside of the door.
Professional organizers consistently start this same way: purge first, then group into zones, and only afterward build out storage. Martha Stewart’s pantry guidance backs this order for a reason. Skip the measuring step and you’ll end up with a drawer full of containers that don’t fit your shelves.
Pro Tip: Bring your shelf measurements with you when you shop for containers. Buying first and measuring later is how most people end up with a garage full of returns.
Pantry Storage Solutions: Ideas Grouped by What You Actually Need
Once you know your dimensions and what you’re storing, pick from ideas that solve a specific problem instead of just looking nice on camera.
Ideas for visibility and easy access
- Clear containers for dry goods. You see at a glance when rice or oats are running low, which beats digging through opaque bags.
- Tiered shelf risers for canned goods or spice jars, so the back row isn’t invisible.
- Spice turntables for lazy Susan style access, especially useful on deep shelves where jars get lost.
- Pull-out bins and crates solve the same deep-shelf visibility problem that turntables and risers address, letting you slide items forward instead of reaching blind.
Space-saving moves that actually add storage
- Over-door organizers turn wasted door space into a spot for spice packets, snack bags, or foil and plastic wrap.
- Vertical stacking with graduated, matching containers uses height instead of floor footprint.
- Wheeled bins tucked at floor level work for bulky items like pet food or bulk flour bags.
- Wall-mounted racks free up shelf space entirely for lightweight items.
Food-specific storage that prevents waste
Canned goods stack best in single layers on risers rather than piled loose. Onions and potatoes need to stay apart in ventilated, opaque containers away from light, since they release gases that speed up spoiling when kept together.
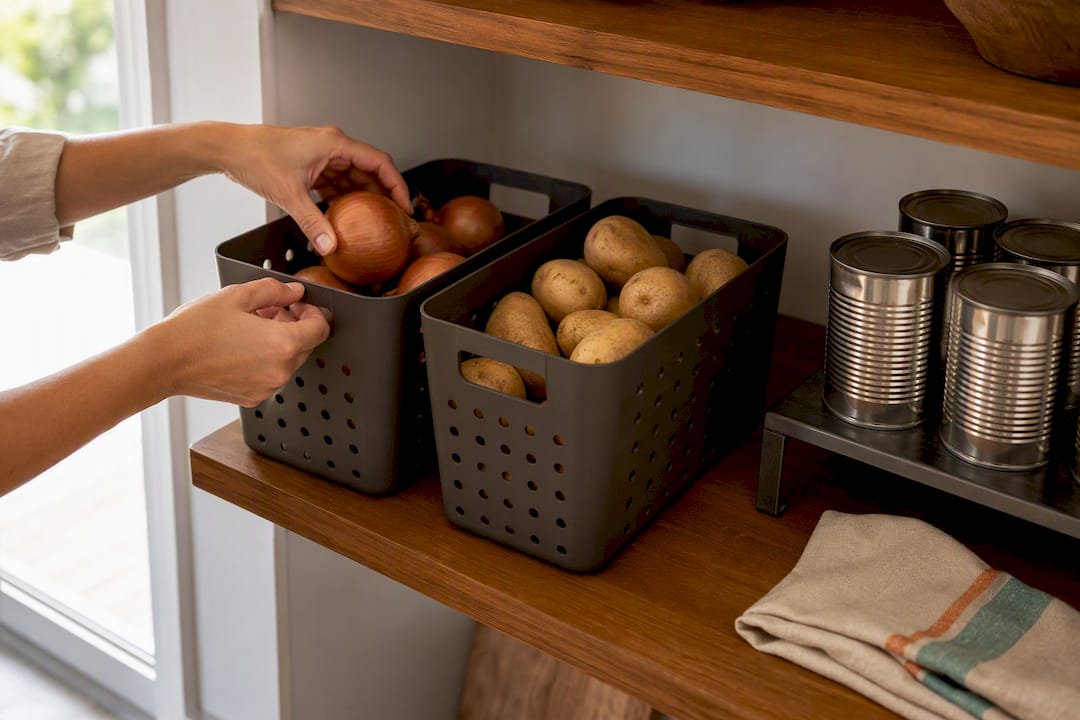
For decanting, follow a simple sizing rule: pick a container roughly double the volume of the product’s original package. For example, a bag of pasta should go into a container twice its size, so you can dump in a fresh bag without leftover packaging cluttering a shelf, according to Consumer Reports. That’s the whole trick to decanting without creating more mess than you started with.
Decanting isn’t mandatory, though. If refilling containers consistently isn’t realistic for your routine, The Kitchn’s pantry guidance points out that keeping original packaging is a perfectly reasonable choice. A half-emptied bin of stale crackers is worse than a bag clipped shut.
Kid-friendly zones that cut down on “Mom, where’s the…”
Put snacks at a child’s eye level in open-front bins they can grab without help. Skip complicated labeling systems here. A simple word or picture label works better than color-coded categories a five-year-old can’t decode.
Low-cost hacks worth trying first
- An over-door shoe organizer holds spice packets, snack bars, or small condiment bottles for a few dollars.
- A lazy Susan repurposed from a dollar store works fine for oils, vinegars, and condiments.
- Reused glass jars make free decanting containers, as long as sizes stay consistent for a cohesive look.
For a deeper dive into layout planning and which container types are worth the investment, Kitchen Devotion’s guide to pantry layouts covers the tradeoffs in more detail.
Creative Pantry Space Ideas for Tight Footprints
Small and narrow pantries need a different priority order than walk-ins. Put your daily-use items front and center, and move bulk overflow, the 12-pack of paper towels, the extra case of canned tomatoes, to a basement shelf, garage cabinet, or closet elsewhere in the house.
Slim, stackable bins fit shallow shelves better than wide bins that eat depth you don’t have. Open-front baskets let you see contents without pulling anything out, which matters when there’s no room to set items down while you dig. Magnetic spice jars stuck to the inside of the door or a side wall reclaim vertical space that would otherwise sit empty. Pull-out crates on the floor make use of the one zone most small pantries waste completely.
- Store only what you reach for weekly at the front; everything else goes to secondary storage.
- Slim stackable bins beat bulky ones on shallow shelving.
- Wall-mounted magnetic jars free up shelf space for taller items.
- Pull-out crates turn floor space into functional storage instead of a junk pile.
Pro Tip: Leave about 20% empty space in each category rather than packing shelves edge to edge. That gap absorbs your next grocery haul without forcing a full reorganization, a rule some organizers call the “Costco test” since a single bulk trip is exactly what breaks a too-tight system.
Pantry Decluttering Methods That Keep Working Months Later
The system you build during a weekend purge only lasts if you build in upkeep. A quick monthly scan, five minutes checking for anything expired or out of place, prevents the slow drift back to clutter. Pair that with a more thorough biannual purge where you pull everything out again and reassess what’s working.
- Monthly: Scan shelves for expired items and anything misplaced.
- Biannually: Empty and reassess the whole system, adjusting zones as your habits change.
- Every restock: Practice FIFO, first in, first out, moving older stock to the front so nothing gets buried and forgotten.
Labeling supports all of this. Consumer Reports recommends labeling containers with both contents and the date you opened or purchased them, which makes FIFO practical instead of theoretical. A wall checklist, a photo of your shelves on your phone, or a short list taped inside the door all work as low-effort inventory tools. You don’t need an app or a spreadsheet, just a habit you’ll actually keep.
Twice-yearly inventory checks are the standard professional organizers point to for keeping a pantry system from quietly falling apart.
Best Pantry Organization Tips for Style Without Sacrificing Function
A cohesive look, matching bins, a limited color palette, doesn’t have to fight against usability. Stick to two or three container shapes and sizes instead of a dozen mismatched ones, and the whole pantry reads as intentional rather than cluttered.
- Keep labels large enough to read at a glance, not just decorative script that looks nice but slows you down.
- Store snacks at kid height and heavy items like canned goods or appliances on lower, sturdier shelves.
- Never store cleaning products or chemicals alongside food. Good Housekeeping warns that spills or fumes can contaminate food nearby.
- Don’t over-style to the point where finding anything requires guesswork. A gorgeous pantry that hides where things go defeats the purpose.
If your pantry has a swinging or sliding door that’s fighting your layout, door and closet configuration guidance can help you decide what actually works for the space you have.
Lighting Solutions for Pantries
A dark pantry corner is where food goes to be forgotten, and forgotten food is exactly what causes waste and duplicate purchases. Battery-powered LED puck lights stick under shelves without any wiring and run for months on a set of batteries. Motion-sensor strip lights are worth the small upfront cost if your pantry doesn’t have a window or overhead fixture. They flip on the moment the door opens and shut off automatically, so you’re never fumbling for a switch with your arms full.
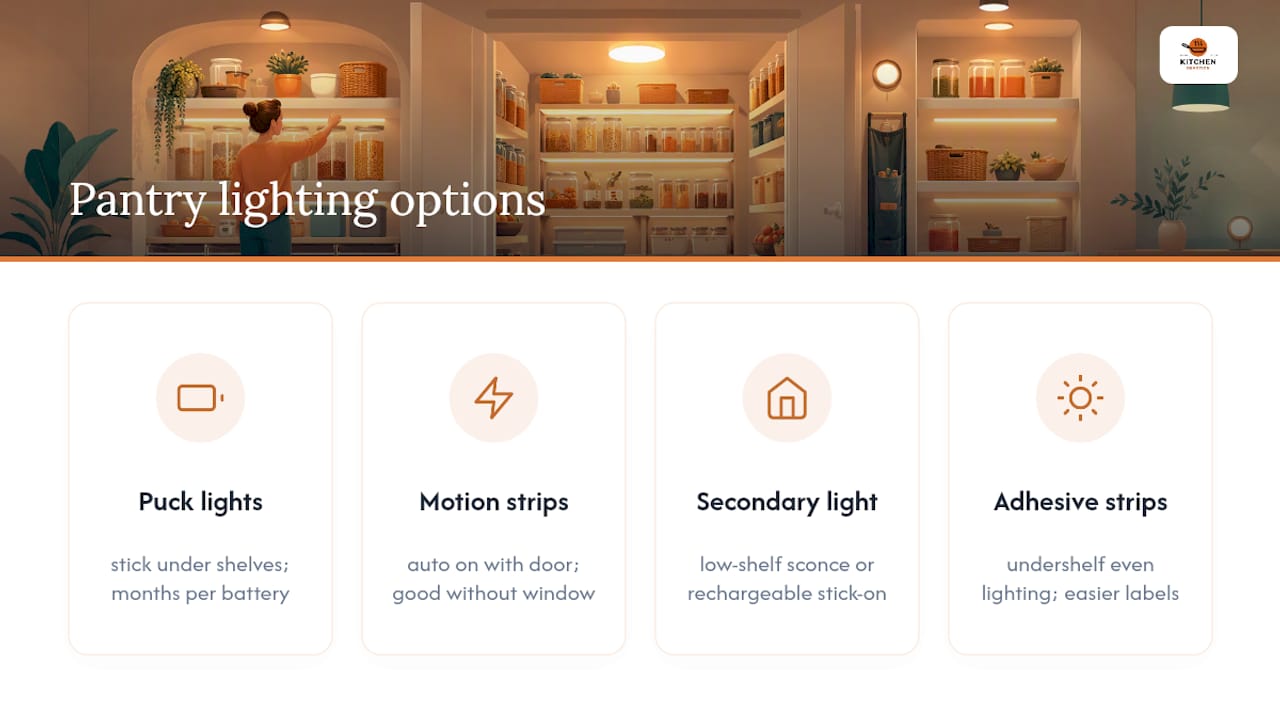
For walk-in pantries, a single ceiling fixture often leaves the bottom shelves and back corners in shadow. Adding a secondary light source, whether that’s a plug-in sconce or a rechargeable stick-on light on a lower shelf, closes that gap without an electrician. If you’re renting and can’t modify fixtures, adhesive LED strips along the underside of each shelf give even light across the whole depth of the shelf, which also makes labels easier to read at a glance.
Good lighting isn’t cosmetic here. It’s the difference between spotting the can of beans buried in back and buying a third one you didn’t need.
Safety First: Keep Cleaning Products Out of the Pantry
Cleaning sprays, dish tablets, and other household chemicals belong in a cabinet under the sink, a utility closet, or a dedicated bin, never on the same shelves as food. Good Housekeeping’s pantry mistakes guide flags this as one of the most common and riskiest habits home organizers see, since a leaking bottle or lingering fumes can contaminate everything nearby.
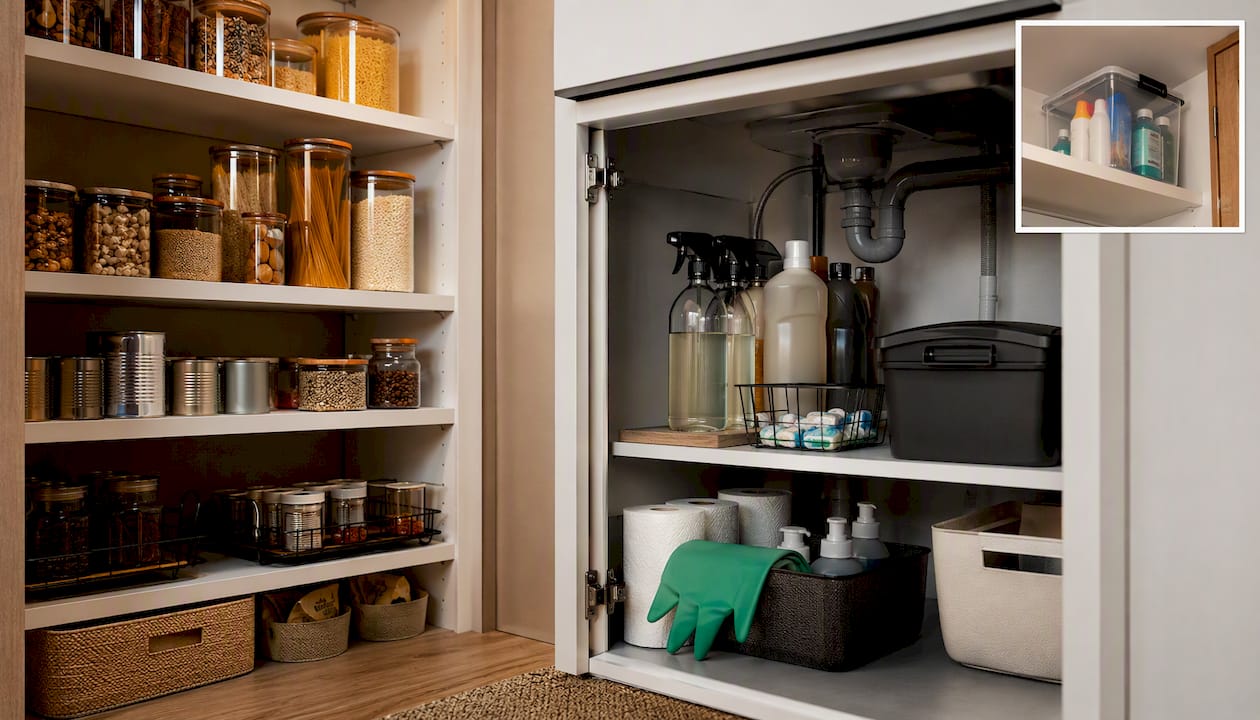
This matters even more in small pantries, where the temptation to tuck a spray bottle onto an open shelf gap is strongest. If your only storage space is the pantry, dedicate one clearly labeled, sealed bin near the floor or on the highest shelf, out of reach of kids, and keep it separate from any food container regardless of how airtight either one seems.
The same logic applies to anything else that doesn’t belong near food: batteries, pet medications, or garage chemicals that ended up in the pantry because it was the nearest empty shelf. If it’s not food or a food-safe tool, it needs a different home. This single rule prevents more kitchen mishaps than almost any other organizing habit on this list.
Why Curated Storage Beats Impulse Buys
Brand signal: Kitchen Devotion’s team has seen that shoppers who measure first and buy fewer, better-matched containers end up happier with their pantry six months later than those who grab whatever’s on sale. Internal data from reader feedback backs this up consistently. Adapt these ideas to how you actually cook and shop, not to a photo you saved. A pantry that fits your habits will always outlast one built to look good for a week.
— K. Connors
Where to Find Storage and Small Appliances That Fit Your New System
Most of the ideas above cost nothing but time and a few dollar-store bins. You don’t need to buy anything to purge, zone, and label your way to a working pantry. If you do want curated suggestions for containers, risers, or the small appliances that often end up stored in a pantry, the Kitchen Appliance Priority List for New Homeowners is a good next stop.
This article includes curated picks based on products that hold up in daily use, but the organizing advice stands on its own whether or not you follow product recommendations. If you’re deciding what earns pantry shelf space versus countertop space, that priority list is worth a look before your next shopping trip.
Sources
- How to Organize a Pantry – Consumer Reports
- Pantry organization guidance – The Kitchn
- Pantry mistakes to stop – Good Housekeeping
- Martha Stewart pantry tips
FAQ
What is the best way to organize a pantry?
Purge everything first, group items into zones based on how you cook, contain them in matched containers, label contents and dates, and revisit the system every six months.
What are the 7 pantry zones?
Common zoning splits pantries into baking, breakfast, snacks, canned goods, spices, cooking essentials, and appliances, though the exact categories should match how you actually cook rather than a fixed template.
How do I group items in my pantry?
Group by how you use food, a baking zone, a snack zone, a breakfast zone, rather than by package size or shape, since that matches how you’ll actually reach for things.
What is the alternative to a walk-in pantry?
A cabinet fitted with pull-out shelves, a repurposed hall closet, or an over-door organizer system can replicate most walk-in pantry function in a fraction of the space.
Do I need to buy new containers to organize my pantry?
No. Reused jars and existing containers work fine as long as sizes stay reasonably consistent, and decanting itself is optional if refilling would create more clutter than it solves.



No comment