Cooking techniques are the fundamental physical methods used to prepare food by applying heat, moisture, or other processes to raw ingredients. Five foundational techniques cover the vast majority of home meal preparation: boiling, sautéing, roasting, braising, and grilling. Beyond those core methods, two complementary skills determine whether a dish succeeds or fails: heat control and seasoning. Home cooks who understand these building blocks can adapt to almost any recipe without following instructions word for word. That confidence is what separates a cook who needs a recipe from one who understands food.
What are the five foundational cooking techniques every home cook should know?
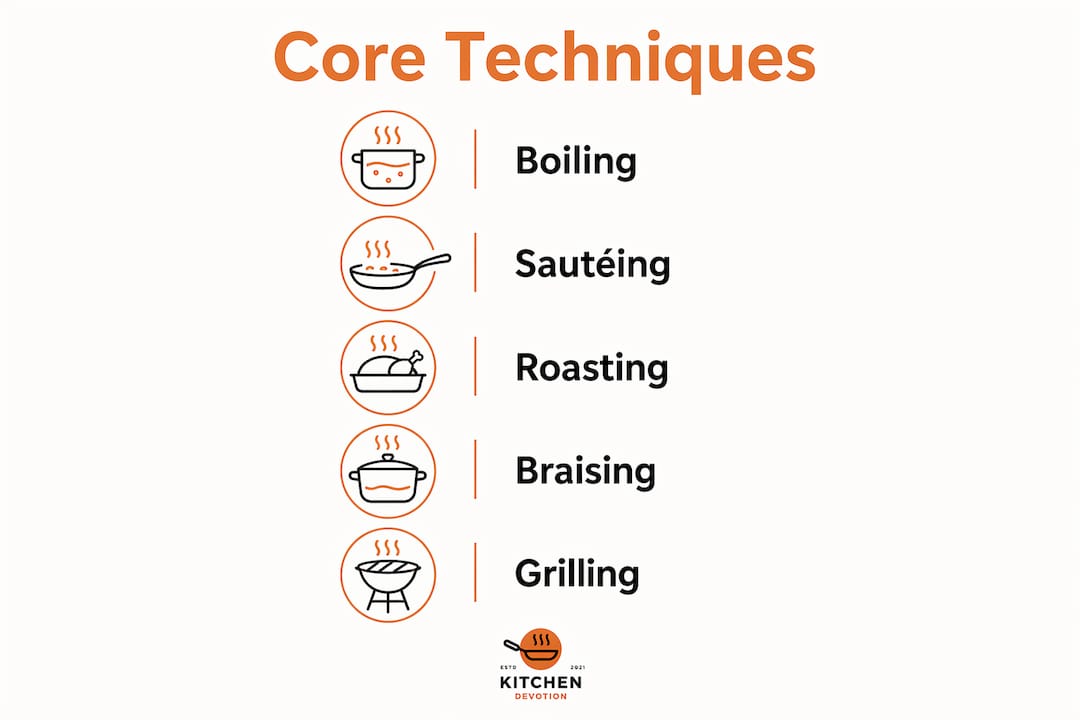
Mastering five core methods gives you the ability to execute nearly any recipe by sequencing moves intelligently. Each technique uses heat differently, and knowing when to apply each one is the real skill.
Boiling submerges food in liquid at 212°F (100°C). It works best for pasta, grains, and root vegetables where you want even, thorough cooking throughout.
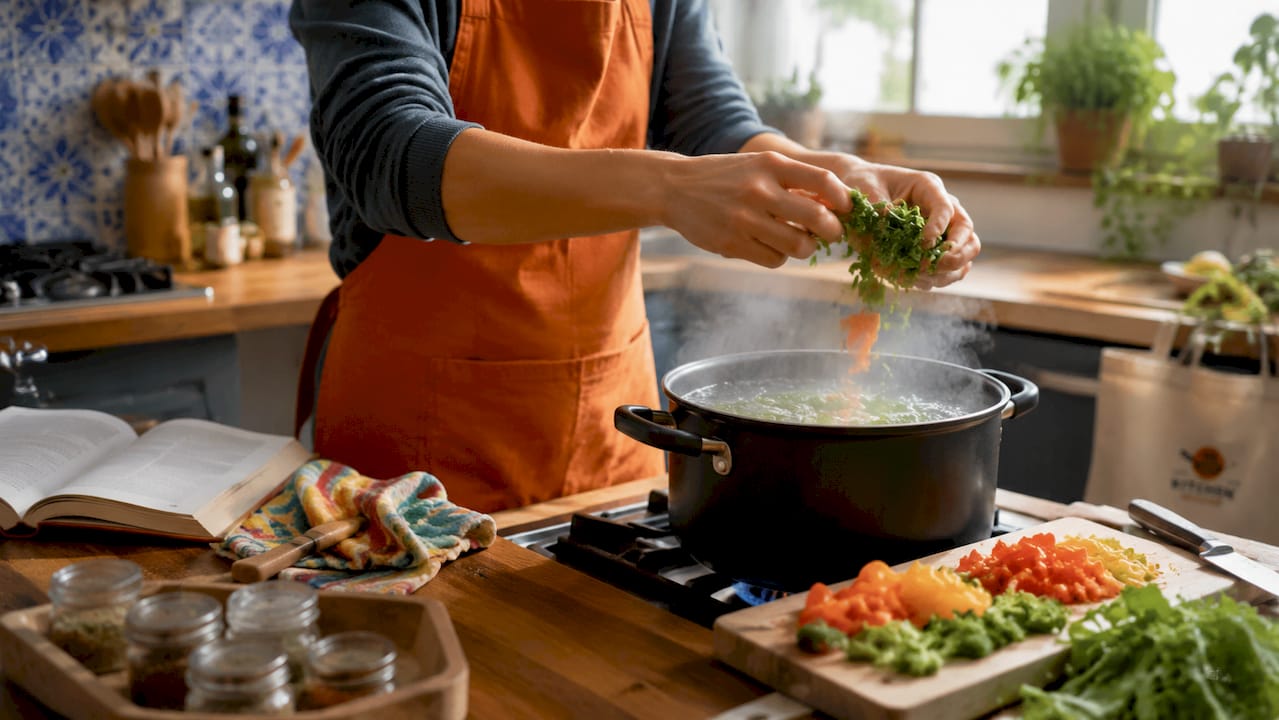
Sautéing uses a small amount of fat in a hot pan over medium to high heat. The goal is quick cooking with some browning, making it ideal for vegetables, thin cuts of meat, and aromatics like garlic and onion.
Roasting surrounds food with dry oven heat, typically between 375°F and 450°F. The dry environment encourages browning on the outside while the interior cooks through. Whole chickens, root vegetables, and sheet pan dinners all benefit from this method.
Braising combines dry and wet heat. You sear the food first to develop color, then add liquid and cook low and slow. Tough cuts like short ribs and pork shoulder become tender through this process because collagen breaks down into gelatin over time.
Grilling applies direct, intense heat from below. It creates char marks, smoky flavor, and a crisp exterior. Steaks, fish fillets, and vegetables all respond well to grilling when the grill is properly preheated.
| Technique | Heat type | Moisture | Common foods | Typical temp range |
|---|---|---|---|---|
| Boiling | Wet | High | Pasta, grains, vegetables | 212°F |
| Sautéing | Dry | Low | Vegetables, thin meats | 350°F–400°F |
| Roasting | Dry | None | Chicken, root vegetables | 375°F–450°F |
| Braising | Dry then wet | Medium | Tough cuts, legumes | 275°F–325°F |
| Grilling | Dry, radiant | None | Steaks, fish, vegetables | 400°F–500°F |
Pro Tip: Once you know these five methods, read any recipe by identifying which technique it uses first. That single step tells you what pan to grab, what temperature to set, and how long the process will take.
How does heat control impact cooking technique success?
Heat control is an active conversation between you and your food, not a dial you set and forget. Professional cooks adjust temperature constantly based on what they see, hear, and smell. Home cooks who treat the stove as a binary on/off switch produce inconsistent results.
Understanding heat zones
Low heat (below 300°F) is for gentle sweating of aromatics, melting butter without burning, and keeping sauces warm. Medium heat handles everyday cooking: scrambled eggs, sautéed vegetables, and pan sauces. High heat is reserved for searing, stir-frying, and getting the Maillard reaction going.
The Maillard reaction is the chemical process that creates the brown crust on a seared steak or a roasted chicken skin. Food surface temperature cannot exceed 212°F while moisture is present, which means browning cannot happen until the surface is dry. This is why patting meat dry before searing is not optional. It is the difference between a gray, steamed piece of protein and a deeply browned, flavorful crust.
| Heat zone | Temperature range | Best use | Common mistake |
|---|---|---|---|
| Low | Below 300°F | Sweating aromatics, holding sauces | Rushing to medium too soon |
| Medium | 300°F–375°F | Sautéing, eggs, pan sauces | Overcrowding the pan |
| High | Above 375°F | Searing, stir-frying, browning | Adding wet or cold food |
Overheating a braise is one of the most common errors home cooks make. A braise should barely simmer, with just an occasional bubble breaking the surface. A hard boil toughens the proteins and evaporates the liquid too fast, leaving you with dry, stringy meat instead of fork-tender results.
Listening to your pan gives you real-time feedback. A steady, confident sizzle means the temperature is right. A fading sizzle means the pan is cooling down, often because you added too much cold food at once. A violent, spitting crackle means the heat is too high and burning is seconds away.
Pro Tip: Before adding food to a pan, drop in a single drop of water. If it evaporates immediately, the pan is ready for sautéing. If it beads and skitters across the surface, the pan is too hot for fat and needs a moment to cool.
Why is seasoning and timing important in cooking techniques?
Seasoning in layers throughout the cooking process builds flavor that tastes complete and complex. Adding all your salt at the end produces a dish that tastes flat underneath and sharp on top. Salt applied at multiple stages draws out moisture from aromatics, helps browning reactions, and blends into the food rather than sitting on the surface.
Dry-brining and timing for meat
Dry-brining large cuts for 24–48 hours before cooking produces noticeably better texture and flavor than salting right before cooking. The salt draws moisture to the surface initially, then that moisture dissolves the salt and gets reabsorbed into the meat. The result is seasoning that penetrates deep into the muscle, not just the outer layer. This works for whole chickens, pork shoulders, and thick steaks.
Sauce thickening and starch science
Starch thickening requires gelatinization, which happens when starch granules absorb liquid and swell at a specific temperature. Cornstarch gels at a lower temperature and produces a clearer sauce than flour. The critical mistake home cooks make is boiling a cornstarch-thickened sauce too hard for too long. Prolonged hard boiling breaks the starch gel and the sauce thins back out, which feels like the thickener stopped working. It did not stop working. You cooked past the point of no return.
Common seasoning pitfalls to avoid:
- Adding salt only at the end, which creates a sharp, surface-level saltiness instead of integrated flavor
- Skipping acid entirely, which leaves dishes tasting flat even when salt is correct
- Over-seasoning at one stage and then not tasting again before serving
- Using dried herbs at the wrong time, since robust herbs like rosemary and thyme need heat to bloom, while delicate herbs like basil and parsley should go in at the finish
The flavor framework used by restaurant kitchens breaks flavor into three stages: a base of stocks and aromatics, a middle built through browning and searing, and a finish of acid and fresh herbs. Skipping the finishing stage is the single most common reason home-cooked food tastes one-dimensional compared to restaurant food. A squeeze of lemon juice or a splash of vinegar added at the end lifts every other flavor in the dish.
What organizational and workflow strategies improve cooking technique execution?
Mise en place is the professional kitchen practice of having every ingredient measured, cut, and ready before cooking begins. Most home cooks interpret this as just chopping vegetables ahead of time. The real practice goes further. It includes mentally rehearsing the sequence of steps, knowing which pan goes on which burner, and deciding what gets cooked first so everything finishes at the same time.
Starting with cold preparations
Beginners often find heat intimidating because it moves fast and punishes hesitation. Cold preparations like vinaigrettes, slaws, and ceviche-style dishes teach the same principles of salt, acid, and texture balance without the pressure of a hot pan. Starting here builds confidence in tasting and adjusting before you add the complexity of live heat.
Practical workflow habits that make a real difference:
- Prep all aromatics before turning on any heat, since garlic burns in seconds and you cannot chop and stir at the same time
- Group ingredients by the order they enter the pan, so you are not searching for the next item while something is already cooking
- Use a kitchen tools checklist to confirm you have the right equipment before starting a new technique
- Batch cook grains, roasted vegetables, and braised proteins on weekends to reduce weeknight cooking to assembly rather than full execution
- Build a consistent routine around knife skills, seasoning, and heat management so these actions become automatic rather than deliberate
Building confidence through repetition
Cooking the same dish multiple times is more valuable than cooking many different dishes once each. Repetition lets you notice what changes when you adjust the heat, add salt earlier, or let the pan get hotter before adding food. A beginner-friendly cooking setup that keeps tools accessible and organized removes friction from this practice. When your workspace is clear and your tools are in reach, you spend mental energy on the food rather than the logistics.
Professional cooks see heat as dynamic, adjusting temperature to achieve consistent textures rather than setting a dial and walking away. That same mindset applies at home. Treat every cooking session as a chance to notice one new thing about how food responds to heat, time, and seasoning.
Key Takeaways
Mastering heat control, layered seasoning, and mise en place gives home cooks the foundation to execute any recipe with confidence and consistency.
| Point | Details |
|---|---|
| Five core techniques | Boiling, sautéing, roasting, braising, and grilling cover the vast majority of home cooking situations. |
| Dry surfaces for browning | Pat meat dry before searing; moisture prevents the Maillard reaction and browning above 212°F. |
| Season in layers | Add salt at multiple stages of cooking, not just at the end, to build integrated, complex flavor. |
| Mise en place is mental | Prep goes beyond chopping. Rehearse the sequence of steps before turning on the heat. |
| Listen to your pan | A steady sizzle signals correct temperature; a fading or violent sound means adjust immediately. |
Heat, instinct, and the real learning curve
I have cooked in home kitchens for a long time, and the single thing I wish someone had told me earlier is this: the stove is not the enemy. The fear of burning something makes most beginners cook on heat that is too low, which produces pale, steamed food with no texture and no depth. The fix is not courage. It is understanding.
Once you know that moisture prevents browning, you stop being afraid of a hot pan. You dry your food, you preheat properly, and you listen for that sizzle. The pan tells you what it needs. Your job is to pay attention.
The other thing I have learned is that seasoning is not about salt alone. Acid is the most underused tool in the home kitchen. A dish that tastes almost right but not quite is almost always missing a finishing squeeze of lemon or a splash of vinegar. Try it once and you will never skip it again.
Cold preparations genuinely changed how I teach people to cook. Making a vinaigrette from scratch teaches salt, acid, fat, and balance without any heat involved. That understanding transfers directly to hot cooking. You already know what balanced tastes like before you touch a burner.
The cooks I have seen improve fastest are not the ones who try the most recipes. They are the ones who cook the same thing repeatedly until they understand it. Make the same roast chicken four times in a row, changing one variable each time. You will learn more from those four chickens than from forty different recipes.
— K. Connors
How Kitchendevotion supports home cooks building real skills
Building technique requires the right tools as much as the right knowledge. Kitchendevotion curates cookware and appliances specifically for home cooks who want to practice foundational methods without professional-grade complexity.

The kitchen appliance priority list on Kitchendevotion helps you decide what to buy first based on the techniques you want to master, not on marketing trends. For cooks focused on searing, braising, and roasting, the cookware sets section covers materials, sizes, and construction in plain language. Kitchendevotion’s guides are written for real home kitchens, not test kitchens with unlimited budgets.
FAQ
What are the most important cooking techniques for beginners?
Boiling, sautéing, and roasting are the three methods that cover the widest range of everyday meals. Mastering these three gives beginners the ability to cook proteins, vegetables, and grains with confidence.
Why does my seared meat come out gray instead of brown?
Gray meat means the surface was wet or the pan was not hot enough to trigger the Maillard reaction. Pat meat completely dry and preheat the pan until it is very hot before adding any fat or food.
How do I know when my pan is at the right temperature?
Listen for a steady sizzle the moment food hits the pan. A fading sizzle means the pan cooled down from adding too much food at once; a violent spitting sound means the heat is too high.
What does seasoning in layers actually mean?
Seasoning in layers means adding salt at multiple points during cooking: when sweating aromatics, when adding proteins, and again at the finish. Each stage integrates the salt differently and builds a more complete flavor.
How long should I dry-brine meat before cooking?
Dry-brining for 24–48 hours gives salt enough time to draw out moisture, dissolve, and reabsorb into the meat. Shorter times still help, but the full window produces the best texture and depth of flavor.





No comment