

Kitchen cleaning is the process of systematically removing food residues, grease, and bacteria from kitchen surfaces and appliances to maintain hygiene and functionality. A well-kept kitchen prevents cross-contamination, extends appliance life, and reduces the risk of foodborne illness. Daily maintenance takes 5–15 minutes, while a full deep clean runs 2–3 hours or can be split into 30-minute sessions across a week. The right tools matter as much as the schedule. Microfiber cloths, non-toxic degreasers, and pH-neutral cleaners form the professional standard for home kitchens.
What tools and eco-friendly cleaners do you need for kitchen cleaning?
The right supplies make every cleaning session faster and safer. Microfiber cloths sit at the top of the list because they remove up to 99% of bacteria from surfaces using only water. That single fact makes them more effective than most paper towels or cotton rags, even without added chemicals.
Your core toolkit should include:
- Microfiber cloths for counters, appliances, and spills
- Non-toxic degreaser for stovetops, range hoods, and cabinet fronts
- Soft scrubbing pads for sinks and tile grout
- Narrow brushes for faucet bases, drain edges, and appliance vents
- Baking soda for odor absorption and gentle abrasion
- White vinegar for glass, stainless steel, and general disinfection (with exceptions noted below)
- Hydrogen peroxide for sanitizing hard surfaces without leaving residue
Hydrogen peroxide kills germs and breaks down stains through an oxygen-releasing reaction. It leaves no harmful residue, which makes it a practical choice for cutting boards, sink basins, and countertops.
One critical exception applies to natural stone. Acidic cleaners like vinegar permanently etch marble and granite surfaces. Use a pH-neutral cleaner on any stone countertop to preserve its finish and prevent microscopic pitting that traps bacteria.
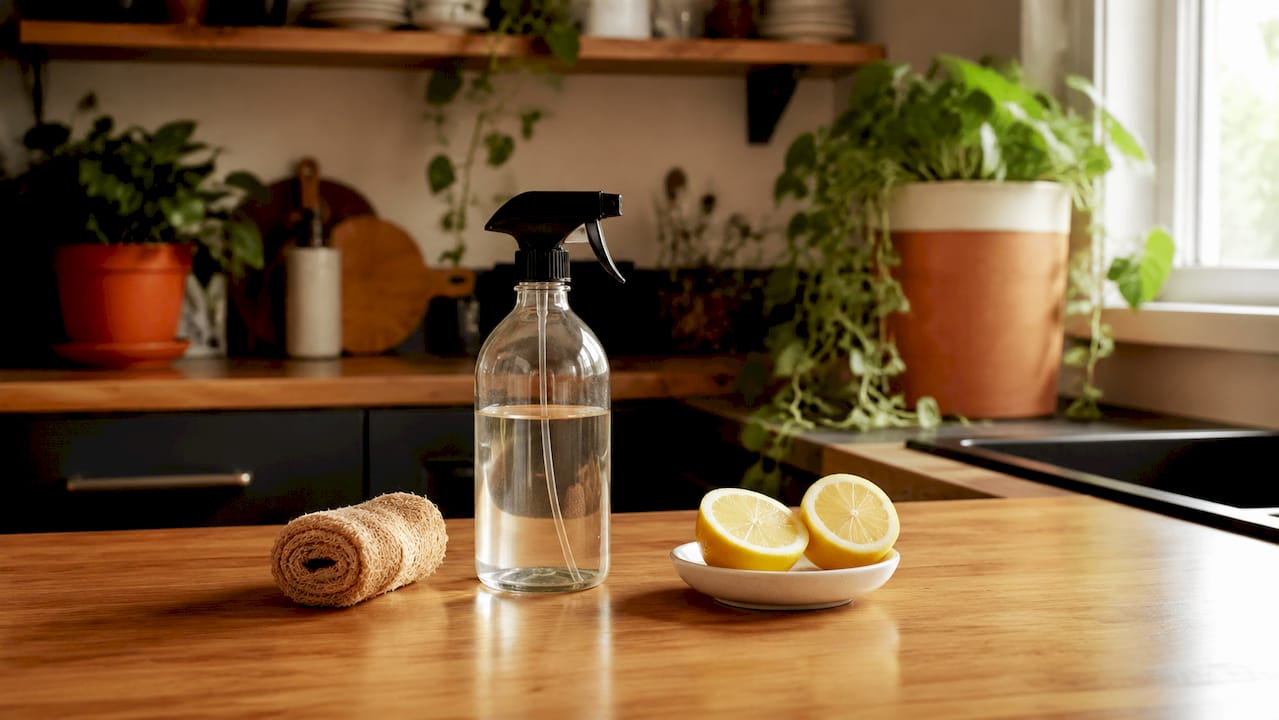
The table below shows how common cleaning agents compare across key criteria.
| Cleaning Agent | Best Use | Surface Compatibility | Eco-Friendly |
|---|---|---|---|
| Microfiber cloth | Daily wiping, bacteria removal | All surfaces | Yes |
| White vinegar | Glass, stainless steel, tile | Avoid natural stone | Yes |
| Baking soda | Odor control, light scrubbing | Most surfaces, avoid soft stone | Yes |
| Hydrogen peroxide | Sanitizing, stain removal | Hard, non-porous surfaces | Yes |
| Non-toxic degreaser | Stovetops, range hoods, cabinets | Most kitchen surfaces | Varies by brand |
| pH-neutral cleaner | Natural stone countertops | Marble, granite, quartzite | Yes |
Pro Tip: Let your degreaser sit for 5–15 minutes before scrubbing. Dwell time breaks molecular grease bonds chemically, so you scrub less and get better results.
How can you efficiently maintain daily kitchen cleanliness to prevent buildup?
Proactive daily cleaning prevents grime accumulation that damages appliances and creates health risks. Reactive cleaning, where you wait until surfaces are visibly dirty, always takes longer and requires harsher products. A consistent 5–15 minute daily routine keeps your kitchen functional without turning it into a weekend project.
The daily sequence is straightforward. Wipe counters with a damp microfiber cloth after every cooking session. Clean the sink with a soft pad and a small amount of dish soap. Spot-check the stovetop for splatter before it bakes on. These three steps alone prevent the majority of buildup that leads to longer deep cleans.
Most homeowners and renters miss several spots that accumulate grime faster than expected:
- Cabinet pulls and drawer handles collect grease and skin oils daily
- The backsplash catches cooking splatter that dries and hardens within hours
- The faucet base traps soap scum, mineral deposits, and food particles
- Appliance control panels gather fingerprints and grease from cooking hands
- The area behind the stovetop collects crumbs and liquid drips that are easy to overlook
Quick decluttering supports your cleaning routine. Clear countertops before you wipe them. Put away appliances you use less than three times a week. A clear surface takes 30 seconds to wipe; a cluttered one takes five minutes. For more strategies on keeping clean while cooking, the approach of cleaning as you go cuts your post-meal cleanup time significantly.
A useful habit is to pair cleaning with an existing routine. Wipe the stovetop while your coffee brews. Clean the sink while you wait for water to boil. These micro-sessions add up without feeling like extra work. For a full system that covers waste management and daily setup, a structured approach makes the habit stick faster.
What is the recommended step-by-step process for deep cleaning your kitchen?
The top-down, dry-before-wet, appliances-before-surfaces sequence is the foundation of an efficient deep clean. Skipping this order is the top reason deep cleans become inefficient and require repeating steps. Dust and debris fall downward, so cleaning floors before walls means you clean the floor twice.
“Proper cleaning sequence can reduce time spent on a deep clean by up to 25%. Start at the ceiling, work down to the floor, and never wet a surface before you’ve removed loose debris.”
Follow these steps in order for a complete deep clean:
- Clear and declutter all surfaces, removing small appliances, dish racks, and countertop items.
- Dust ceiling corners, light fixtures, and the tops of cabinets using a dry microfiber cloth or duster.
- Remove and soak range hood filters in hot water with dish soap or a degreaser solution for 15–20 minutes.
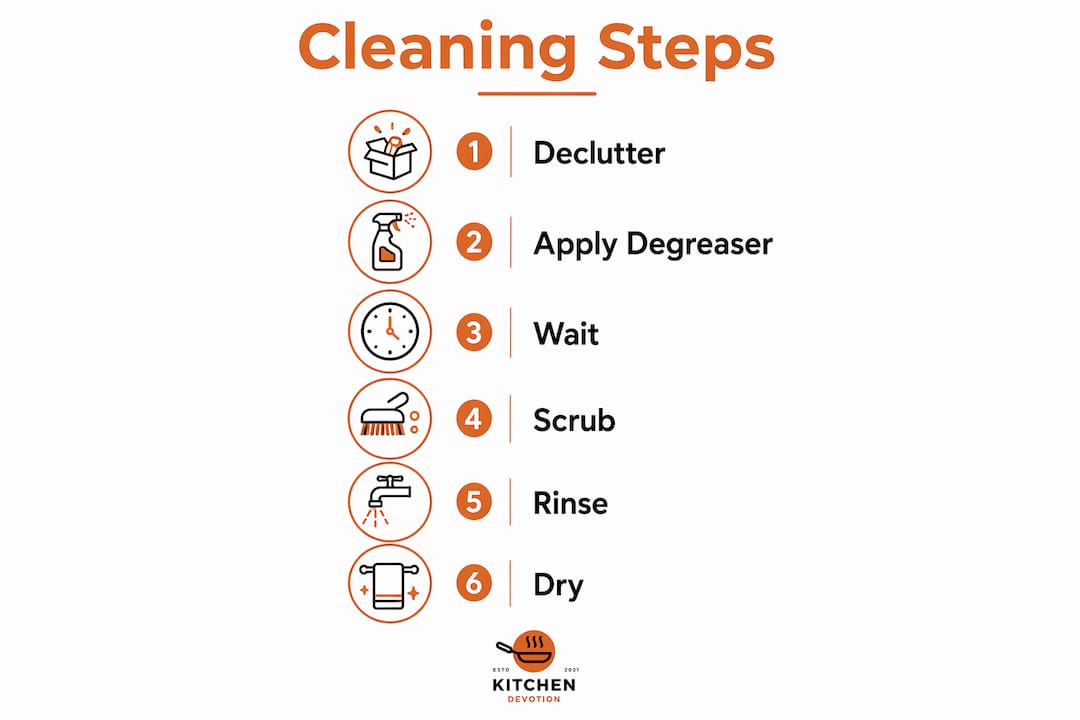
- Apply degreaser to the stovetop, oven exterior, and cabinet fronts. Let it dwell for 5–15 minutes before wiping.
- Clean appliance interiors. Microwave, oven, and refrigerator each need separate attention with appropriate cleaners.
- Wipe cabinet fronts and handles from top to bottom using a damp microfiber cloth.
- Clean countertops with the appropriate cleaner for your surface material.
- Scrub the sink with a soft pad, then rinse and dry to prevent water spots.
- Sweep or vacuum the floor to remove loose debris before mopping.
- Mop the floor with a suitable floor cleaner, working from the far corner toward the exit.
Pro Tip: For oven cleaning, spread a thick paste of baking soda and water across the interior surfaces. Let it sit overnight, then wipe clean with a damp cloth. This method lifts baked-on grease without harsh chemical fumes.
Abrasive powders scratch stainless steel and glass cooktops, creating micro-grooves that trap bacteria and permanently dull the finish. Use only soft cloths and non-abrasive cleaners on these surfaces.
The table below compares two realistic approaches to completing a deep clean.
| Approach | Total Time | Best For | Effort Level |
|---|---|---|---|
| Single session | 2–3 hours | Weekends, pre-event cleaning | High, concentrated |
| Split sessions | 30 minutes per day over one week | Busy schedules, renters | Moderate, distributed |
How do you properly clean and maintain common kitchen appliances?
Oven interiors and appliance undersides need deep cleaning every 1–3 months based on how often you cook. Waiting longer allows grease to carbonize, which makes removal significantly harder and can affect appliance performance. A consistent schedule protects both hygiene and the mechanical components inside each appliance.
Each appliance has its own cleaning method. The dishwasher benefits from a monthly cycle run with a cup of white vinegar on the top rack to remove mineral buildup and odors. The microwave responds well to a bowl of water and lemon juice heated for three minutes; the steam loosens splatter so you can wipe it clean with minimal effort. The refrigerator needs a quarterly wipe-down of shelves and drawers with a mild soap solution, followed by a dry cloth to prevent moisture buildup. For detailed guidance on appliance care and longevity, a structured maintenance plan prevents most common failures.
Appliance cleaning do’s and don’ts:
- Do follow the manufacturer’s cleaning guidelines for each appliance
- Do use hydrogen peroxide or a non-toxic multi-purpose cleaner on hard exterior surfaces
- Do remove and wash removable parts, such as burner grates and refrigerator shelves, separately
- Do dry surfaces thoroughly after cleaning to prevent rust and mold
- Don’t use abrasive scrubbers on stainless steel, glass, or coated surfaces
- Don’t spray liquid cleaners directly onto control panels or electrical components
- Don’t use bleach inside the refrigerator, as it can transfer odor to food
- Don’t skip cleaning the rubber door seals on dishwashers and refrigerators, where mold grows quickly
Manufacturer guidelines exist for a reason. Using the wrong cleaner on a coated surface can void the warranty and cause permanent damage. When in doubt, a damp microfiber cloth and mild dish soap are safe for nearly every exterior surface.
Key Takeaways
A structured kitchen cleaning routine built on the right tools, correct sequence, and consistent daily habits is the most effective way to maintain hygiene, protect appliances, and reduce total cleaning time.
| Point | Details |
|---|---|
| Daily routine saves time | A 5–15 minute daily wipe-down prevents the buildup that turns into a 3-hour deep clean. |
| Microfiber cloths outperform paper towels | They remove up to 99% of bacteria using only water, making them the most effective daily tool. |
| Sequence determines efficiency | Top-down, dry-before-wet cleaning reduces redundant work and cuts deep clean time significantly. |
| Match cleaner to surface | Use pH-neutral cleaners on natural stone and avoid abrasives on stainless steel and glass cooktops. |
| Appliance care follows a schedule | Deep clean ovens and appliance undersides every 1–3 months to maintain function and hygiene. |
What I’ve learned from years of cleaning kitchens the wrong way first
I spent years cleaning my kitchen in the wrong order. I’d mop the floor, then wipe the counters, and watch crumbs fall right onto the clean tiles. I’d spray degreaser and immediately scrub it off, wondering why the stovetop still looked greasy. The frustration wasn’t about effort. It was about sequence and patience, two things no one explicitly teaches.
The single biggest shift for me was accepting dwell time. Letting a degreaser sit for 10 minutes feels unproductive, but it does more work than five minutes of scrubbing. Once I stopped rushing that step, my stovetop cleaning went from a 20-minute battle to a 5-minute wipe. The chemistry does the work when you let it.
I’ve also learned that eco-friendly products are not a compromise. Hydrogen peroxide and baking soda handle the majority of kitchen messes without the fumes that make you want to leave the room. The only place I’d caution you is natural stone. I learned that lesson the hard way on a marble countertop that now has a permanent dull patch from a vinegar-based spray.
The most practical advice I can offer is this: customize your routine to your kitchen, not someone else’s. A small apartment kitchen with one burner needs a different approach than a large family kitchen with a double oven and a six-burner range. Start with the daily habit, get that locked in, and the deep clean becomes far less daunting. If you cook frequently, move your appliance deep clean to every month rather than every three. Your kitchen will tell you what it needs.
— K. Connors
Tools and appliances that make kitchen upkeep easier
A clean kitchen starts with the right habits, but the right equipment makes those habits stick. Kitchendevotion curates appliances and tools specifically chosen to reduce cooking mess and simplify cleanup for homeowners and renters.

Air fryers, for example, produce significantly less splatter than stovetop frying, which means less degreasing after meals. Quality cookware with non-stick or hard-anodized surfaces releases food cleanly and wipes down in seconds. Kitchendevotion’s time-saving kitchen appliances list covers the appliances that consistently reduce both cooking time and post-meal cleanup. If you’re building out your kitchen on a budget, the best picks under $50 guide covers affordable tools that hold up to daily use without adding cleaning complexity.
FAQ
How long does a full kitchen deep clean take?
A complete kitchen deep clean takes 2–3 hours in a single session. You can also split it into 30-minute daily increments across one week for a less intensive approach.
Can I use vinegar on all kitchen surfaces?
No. White vinegar works well on glass, stainless steel, and tile, but it permanently etches natural stone surfaces like marble and granite. Use a pH-neutral cleaner on any stone countertop.
How often should I deep clean kitchen appliances?
Oven interiors and the areas under appliances need deep cleaning every 1–3 months, depending on how often you cook. High-frequency cooks should lean toward the monthly end of that range.
What is the most effective daily kitchen cleaning tool?
Microfiber cloths are the most effective daily tool. They remove up to 99% of bacteria from surfaces using only water, without requiring chemical cleaners for routine maintenance.
Why does my stovetop still look greasy after cleaning?
The most common cause is not allowing the degreaser enough dwell time. Degreasers need 5–15 minutes to break down grease bonds chemically. Wiping too soon leaves a greasy film and requires more scrubbing with worse results.





No comment